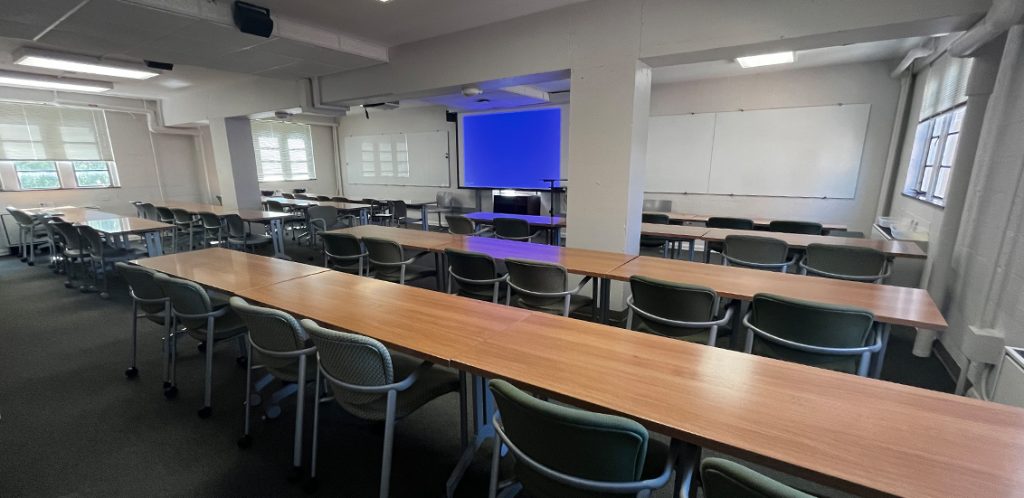
Room Technology Updated: Summer 2012
Max Capacity: 45
Room Technology Updated: Summer 2012
Max Capacity: 45
For more information and basic troubleshooting, go to the Technology Training area.
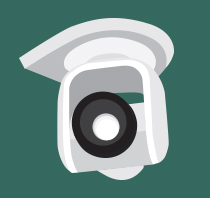
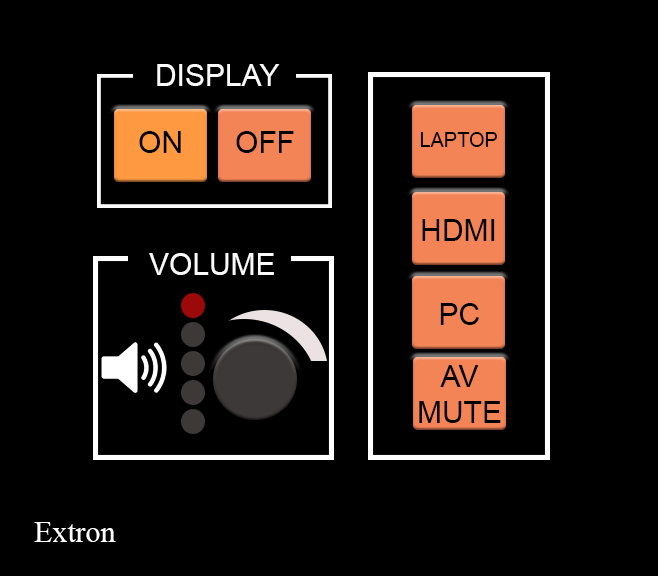
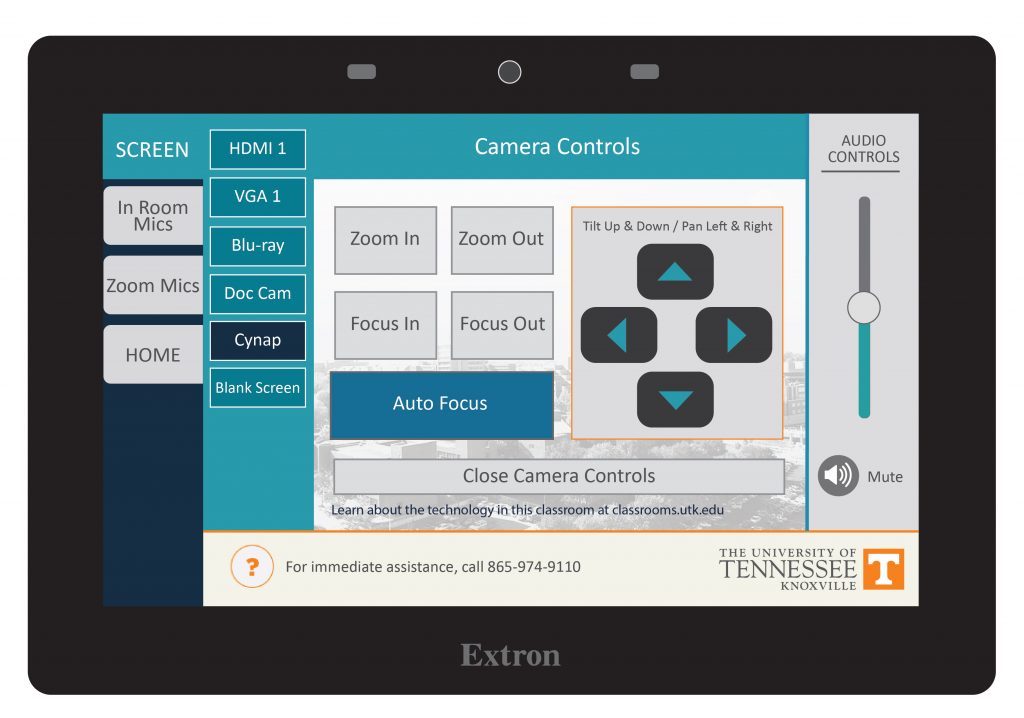
The camera in your classroom can be controlled by the Control Panel in your room. You should see a Camera control button on the panel. This is usually under the Cynap menu. On this button, you can pan, tilt, and zoom in with your camera. In some classrooms, cameras may have preset controls that will move them to a set spot and zoom. Try out the controls available to you in your room.
Tip: if you are zoomed in, the pan and tilt will be more pronounced. Zoom out to have more control over the movement of the camera.
These cameras are set up to use with Zoom or Panopto, which you can access through the WebRTC app on your Cynap.
The camera is accessible only through the departmentally-controlled Mac Mini, which is only available to departmental classes based in Greve Hall. Registrar-added classes must use a personal laptop to project on the screen.
The flagship campus of the University of Tennessee System and partner in the Tennessee Transfer Pathway.