Zeanah Style 3
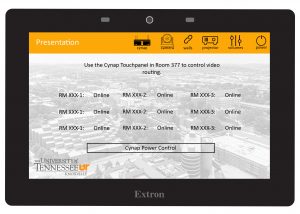
Please note: The Zeanah classrooms were installed by the contractor. The control panels do not match control panels in other buildings on campus. These instructions are for using the Cynap in the combined classroom. These instructions are for the following areas:
- ZEC 170, 171, 177, 178 (Combined)
- ZEC 270, 271, 277, 278 (Combined)
- ZEC 370, 371, 377, 378 (Combined)
![]() Display On Screen:
Display On Screen:
- Press Anywhere to Start.

![]() To Enable Master Mode:
To Enable Master Mode:
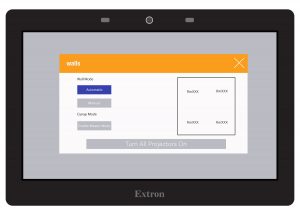
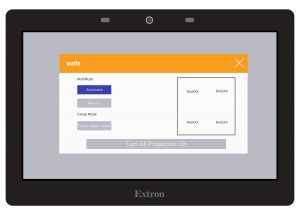
- Under Wall Mode make sure Automatic is enabled.
- Under Cynap Mode press Enable Master Mode.
- Press Turn All Projectors On.
![]() Cynap Add Sources:
Cynap Add Sources:
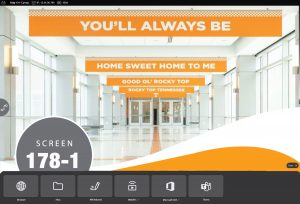
- Press anywhere to bring up the + and Matrix Icons
- Select the + to open the Plus menu, choose your source to display
![]() Cynap Matrix Icon:
Cynap Matrix Icon:
- Press anywhere to bring up the + and Matrix Icons
- Select the Matrix Icon to reach the Room View

![]() Cynap Room View:
Cynap Room View:
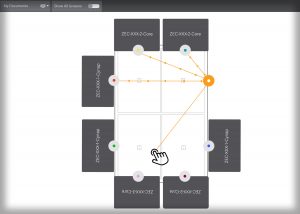
- Each room will be available to view. You are the room with the Orange Dot.
- For each screen you want to project to, drag from the Orange Dot to the Cynap in that room labeled as ZEC and the room number. For example: ZEC-170-1-Cynap is the main screen in room 170 and ZEC-170-2-Core is the screen on the side in room 170.
![]() Returning to the Home Screen on Cynap:
Returning to the Home Screen on Cynap:
- In the Room View, select the Back Arrow on the right-side of the screen.
This will return you to the main Home Screen on Cynap where you can view your sources.
- Press the Back Arrow and you will be returned to the main Home Screen.

Returning to the Home Screen on Cynap: Steps 1 through 2
![]() When Finished:
When Finished:
- On the Control Panel screen, exit out of the Walls menu.
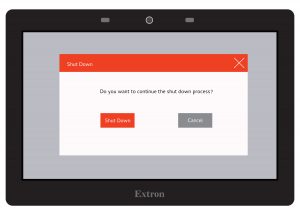
- Select the Power Icon to be brought to the Shut Down screen.
- Confirm by selecting Shut Down.
