Skip to content Skip to main navigation Report an accessibility issue
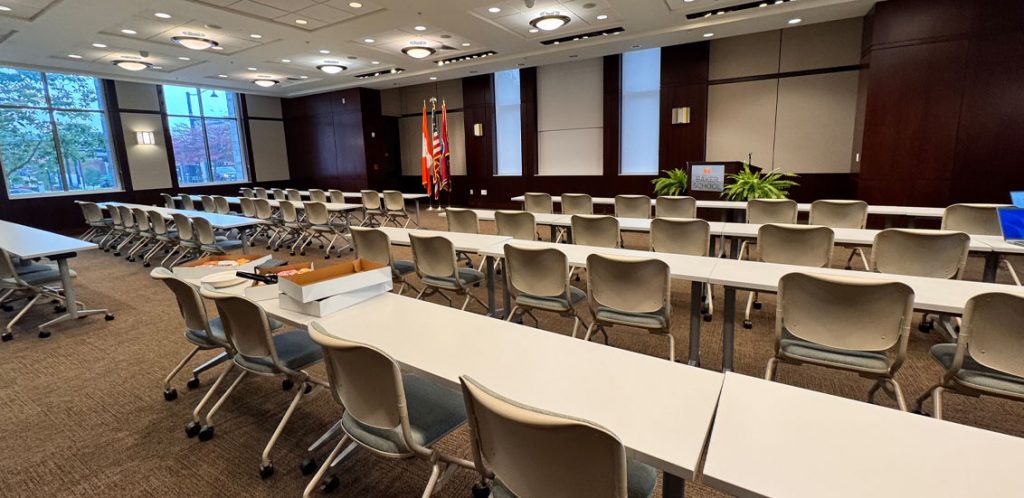
Toyota Auditorium in the Howard Baker School. tables and chairs aligned in rows facing projector screen

Howard Baker School Toyota Auditorium – Departmentally-Owned Classroom

Control Panel instructions below do not exactly match what is in the room. We are working on correct instructions for the room. The instructions below are close to what you will find, but not exact. The control panel for this room is located in the AV closet to the left of the entrance.

Furniture: Reconfigurable space with rectangle or circular tables and chairs

This is a departmentally-owned room. OIT does not support the computer in this classroom. OIT can offer some assistance with learning the technology in this classroom, but because this is a departmentally-controlled space, we are not able to offer full assistance. Information on this page may not be completely accurate and may be outdated due to department updates.

Your Room Contains

Classroom Resources:
Instructor Resources:
  • Control Panel: Style 2
  • 1 Cynap Pure Pro(s)
  • Cables:
    • 1 HDMI cable(s)
Instructor Screens:
Audience Screens:
  • 2 Ceiling Projector(s)
Audio Visual:
Note: Departmentally-Controlled Room

How To...

decorative control panel diagram

Display on Screens:

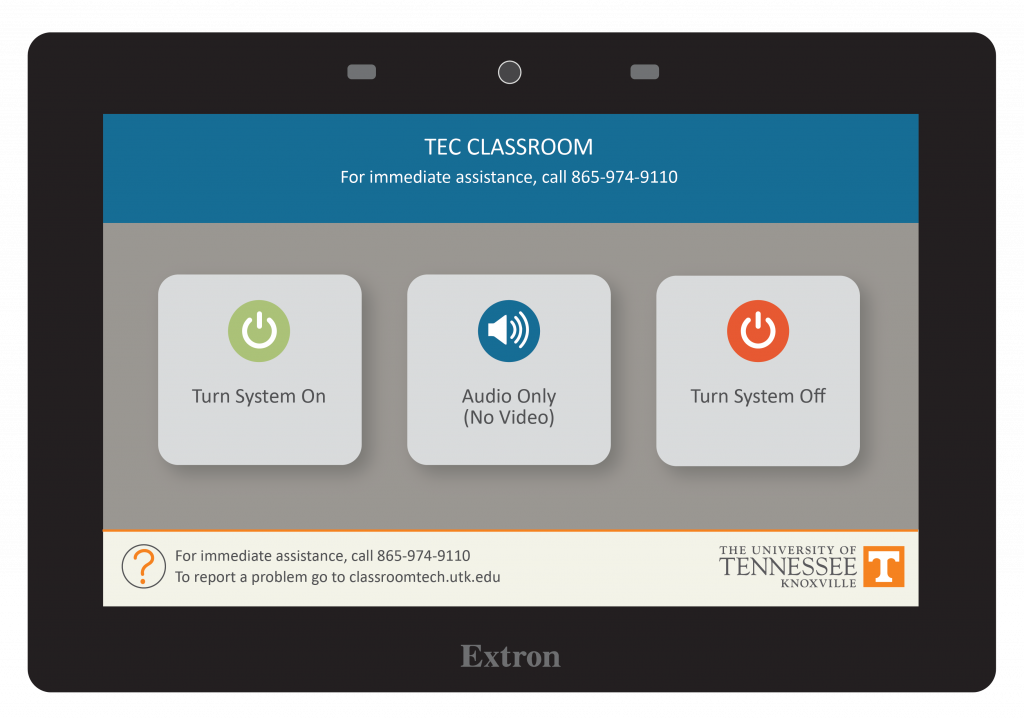
  1. Tap Turn System On.
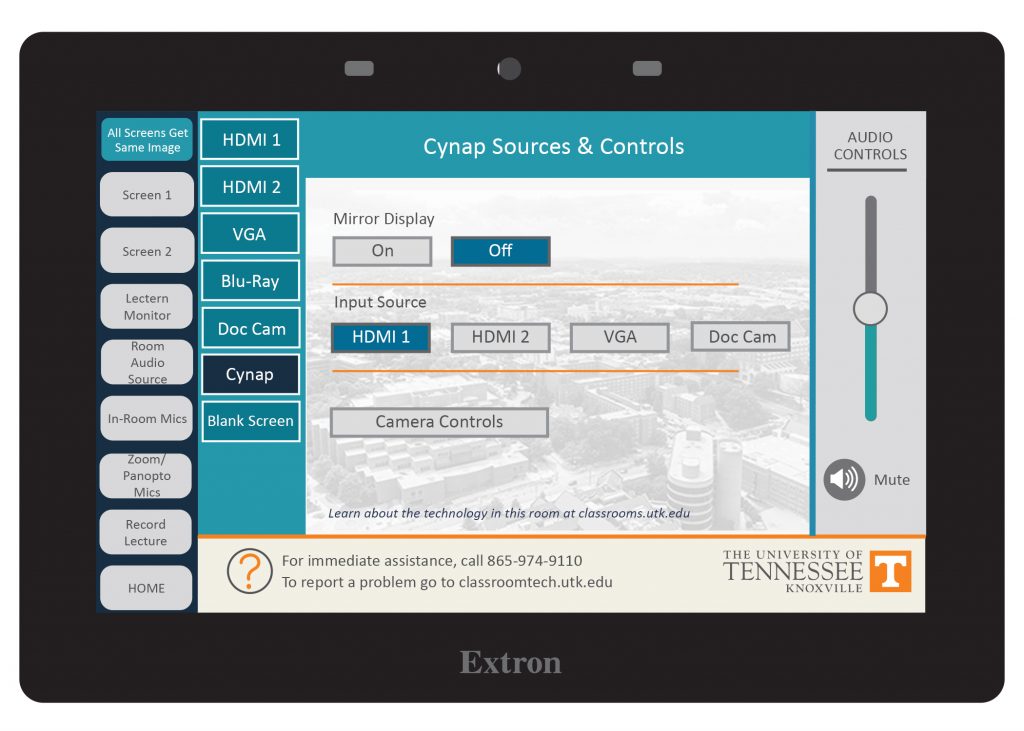
  2. Tap the button for how you wish to display the screens.
    • Both Screens Same Image - will put the same image on both screens.
    • Choosing Screen 1 or Screen 2 individually will allow you to put a different image on each screen.
    • In some classrooms, you can choose to have one screen off; tap the Screen Controls button to choose which screen to turn off, if available in your classroom.
  3. Under the screen choice you picked, choose the device you wish to display on the screen such as a laptop connected to an HDMI 1, HDMI 2, or VGA 1 cable, the Blu-ray player, Doc Cam, or Cynap.
  4. If choosing different images on each screen, ensure you choose Room Audio to choose which screen's audio will be heard in the room.
  5. The Blank Screen option will stop the currently selected image from projecting on that screen.

When Finished

  1. Tap Home.
  2. Choose Turn System Off.
Step 1
style 2 with updated buttons (recorder)
Step 2-3


The Cynap Pure Pro can have a wireless device attached to it. It is not set up for recording in Zoom, Panopto, or Teams. You can not connect via cables such as USB-C or HDMI to this device.

See this page for detailed instructions on connection to Cynap wirelessly on Mac or Windows.

Connecting Your Laptop Wirelessly:

  1. Connect your laptop.
    • On Windows: 
      1. Use the Windows Key + K Key to bring up the Project menu.
      2. Choose Connect to a wireless display
      3. Choose the Cynap for your room. 
    • On MacBook: 
      1. Select the Screen Mirroring icon in your menu bar to see available devices. 
      2. Select the Cynap for your room. 
  2. Enter the 4-digit code that appears at the top of the Cynap screen on your laptop. Your laptop will appear on the Cynap screen. 

This room is a departmentally-controlled room. OIT may not be able to completely support this room because it is not a campus-hosted classroom. We have provided information as to what is in the room to the best of our knowledge.