Skip to content Skip to main navigation Report an accessibility issue
Austin Peay building room 308. Conference table in the middle of the room with chairs surrounding and tv visible.

Austin Peay 308 – Departmentally Owned Room

Room Technology Updated: Summer 2021
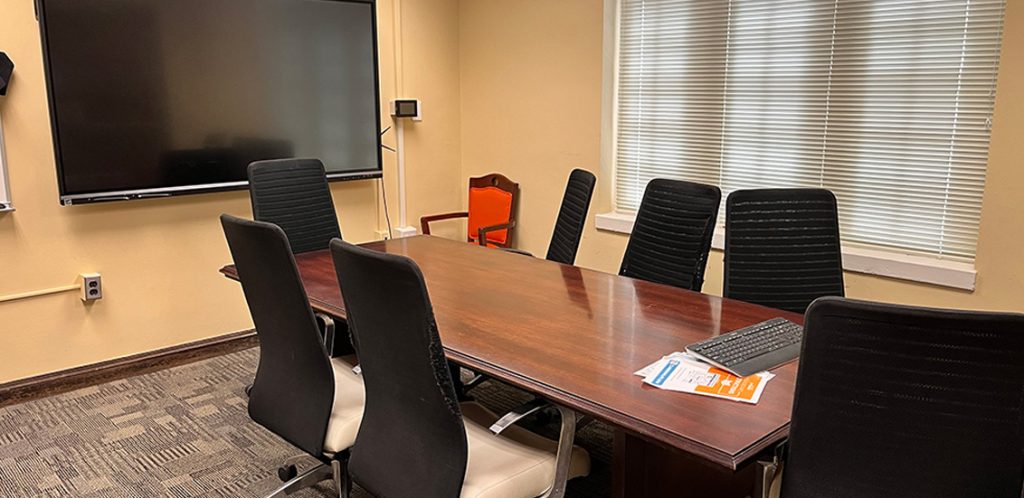
Max Capacity: 10

This is a departmentally-owned room. OIT can offer some assistance with learning the technology in this classroom, but because this is a departmentally-controlled space, we are not able to offer full assistance. Information on this page may not be completely accurate and may be outdated due to department updates.

Your Room Contains

Classroom Resources:
Instructor Resources:
  • Control Panel: Wall Style 5
  • Cynap
  • Cables:
    •  HDMI cable(s)
    •  VGA Cable(s)
Instructor Screens:
Audience Screens:
  • 1 Wall Monitor(s)
Audio Visual:
Note: ViewSonic Touchscreen with Built-in Whiteboard and Annotation

How To...

control panel

Display an Image on the Screen

  1. Tap Turn System On.
  2. Select Wall Plate.
  3. Plug in your laptop using the HDMI or VGA cable. The wall plate will detect your laptop.
    Note: if you use VGA, ensure you have also plugged in the audio cable in order to have sound.
  4. On the Cynap, tap the + button.
  5. From the Cynap + menu, choose Cynap Input to display the laptop.
control panel with Turn System on and Turn system off buttons
Steps 1
Step 2

When Finished

  1. Press the Home button.
  2. Choose Turn System Off.


These instructions will help you to connect a device to the Cynap.

Go to our Cynap page in the Technology Training section for more advanced features of using Cynap.

Connecting Your Laptop Wirelessly:

  1. Connect your laptop.
    • On Windows: 
      1. Use the Windows Key + K Key to bring up the Project menu.
      2. Choose Connect to a wireless display
      3. Choose the Cynap for your room. 
    • On MacBook: 
      1. Select the Airplay icon in your menu bar to see available devices. 
      2. Select the Cynap for your room. 
  2. Enter the 4-digit code that appears at the top of the Cynap screen on your laptop. Your laptop will appear on the Cynap screen. 

Connecting a Wired Device:

Use these steps to display a device that is hooked up using an HDMI cable; this includes the document camera or a laptop.

1. On the Control Panel under the Cynap Input menu, select the device you want to display from the Cynap onto the projector. You can select from your document camera, laptop connected with HDMI or VGA, or Blu-ray player.
Note: Your control panel may look different than the image on the right.
This image has an empty alt attribute; its file name is MicrosoftTeams-image-1.jpg
2. On the Cynap screen, tap the screen and select the [ + ] button.
3. Then, select Cynap Input to add the device previously selected on the Control panel. 
4. Your selected device will appear on the Cynap screen. If you are not in mirror mode, where the instructor screen is mirrored on the main screen, you can send the image over to the main projector screen by tapping the bottom menu of the window on the Cynap and choosing the Send to Projector button.
Note: OIT recommends using Mirror mode to make things simpler. If you use Mirror mode, make sure you go to your home screen on the control panel and turn the system off, then turn the system back on at the beginning of class. This will reset your PIN code for Cynap so that previous users will not have the PIN code.


This room contains a ViewSonic touchscreen monitor that allows you to use a built-in whiteboard and annotation feature. Tap the side of the monitor to bring up the display menu and switch between inputs to choose whether to show Cynap, Whiteboard, or just your laptop connected with HDMI.