Room Technology Updated: Spring 2023
Max Capacity: 7
This room is not a classroom but is set up similarly to a classroom and can be reserved at the Hodges Library site.

Room Technology Updated: Spring 2023
Max Capacity: 7
This room is not a classroom but is set up similarly to a classroom and can be reserved at the Hodges Library site.
The Cynap Core Pro can have a wireless device attached to it. In some classrooms, it is not set up for recording in Zoom, Panopto, or Teams, but it is in others.
See this page for detailed instructions on connection to Cynap wirelessly on Mac or Windows.
Use these steps to display a device that is hooked up using an HDMI or USB-C cable; this includes the document camera or a laptop.
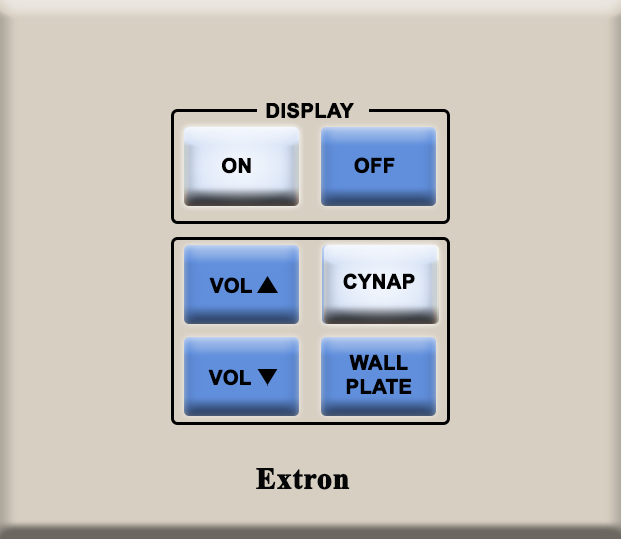
| Option 1. Control Panels: If your classroom has a control panel where you choose HDMI, USB-C, or Blu-Ray player follow these instructions: On the Control Panel under the Cynap Input menu, select the device you want to display from the Cynap onto the projector. You can select from your document camera, laptop connected with HDMI or USB-C, or Blu-ray player. Note: Your control panel may look different than the image on the right. --------------------------------------------------------------------- Option 2: Wall Touchscreen Only: If your classroom has a touchscreen monitor and the control panel does not specify connection type, connect your laptop and skip to step 2. | 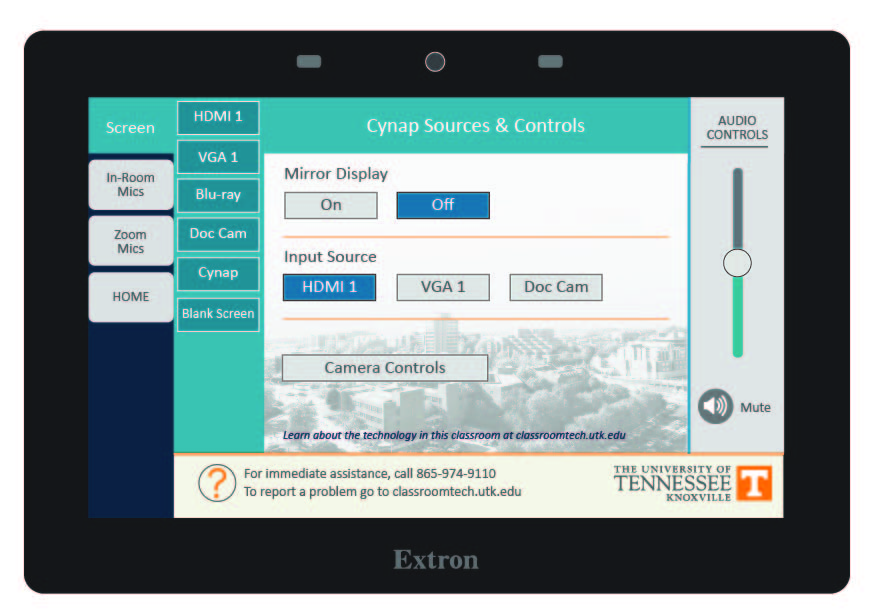 |
| 2. On the Cynap screen, tap the screen and select the [ + ] button. |  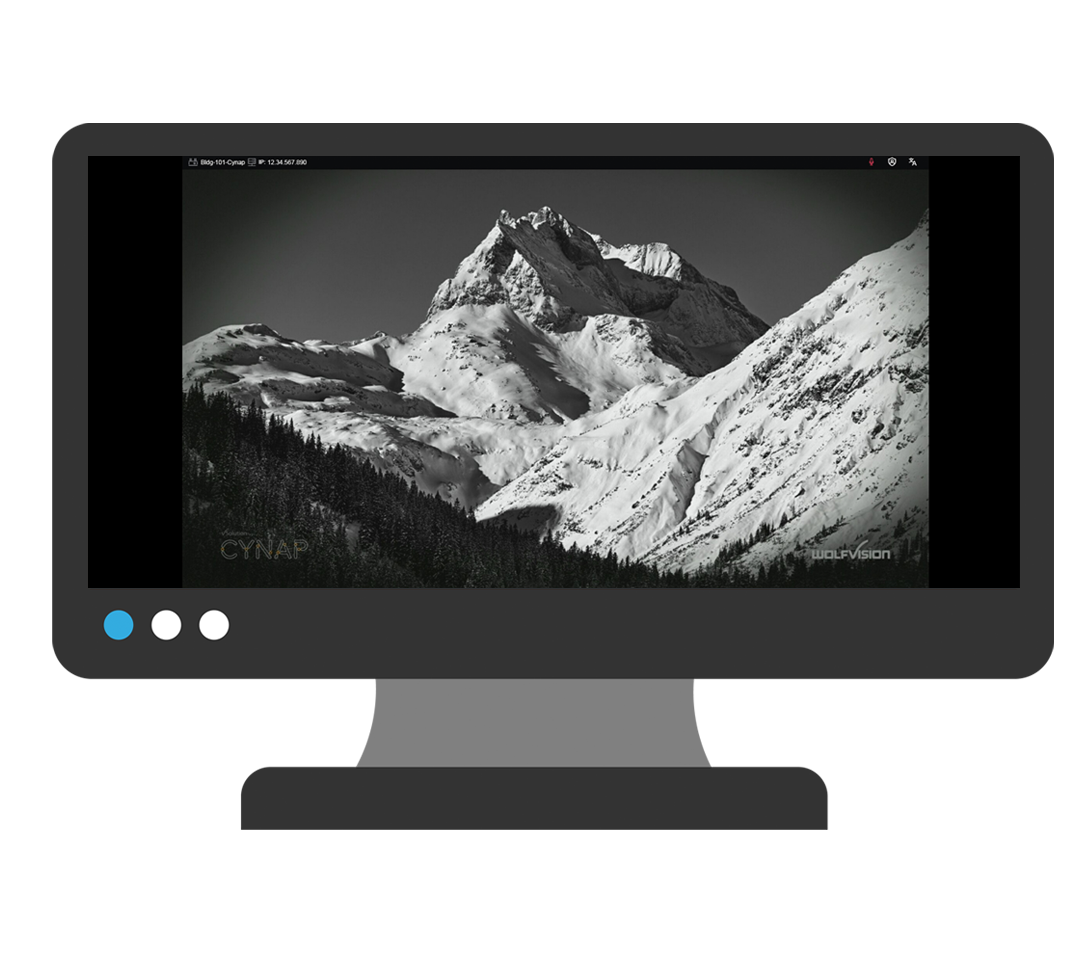 |
| 3. On the Cynap screen, tap the screen and select the [ + ] button. |  |
| 4. Then, select Cynap Input to add the device previously selected on the Control panel. This icon may be labeled slightly differently, such as Input or HDMI (even if you are connected another way such as USB-C). |  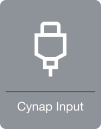 |
| 5. Your selected device will appear on the Cynap screen. | |
| 6. Note: If you are recording using Zoom or Panopto, you will need to tap your laptop or other screen you wish to share full screen with the class to make it larger after tapping the share screen button in Panopto/Zoom. |  |
The Cynap in this room is only used for connecting devices wirelessly.
The flagship campus of the University of Tennessee System and partner in the Tennessee Transfer Pathway.