Room Technology Updated: Summer 2021
Max Capacity: 15
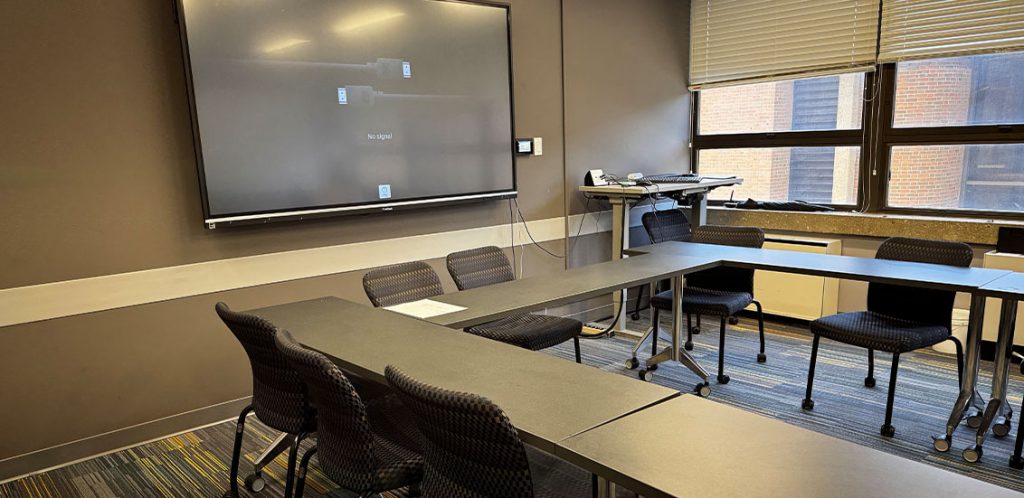
Room Technology Updated: Summer 2021
Max Capacity: 15


These instructions will help you to connect a device to the Cynap.
Go to our Cynap page in the Technology Training section for more advanced features of using Cynap.
Use these steps to display a device that is hooked up using an HDMI cable; this includes the document camera or a laptop.
| 1. On the Control Panel under the Cynap Input menu, select the device you want to display from the Cynap onto the projector. You can select from your document camera, laptop connected with HDMI, USB-C, VGA, or Blu-ray player. Note: Your control panel may look slightly different than the image on the right. | 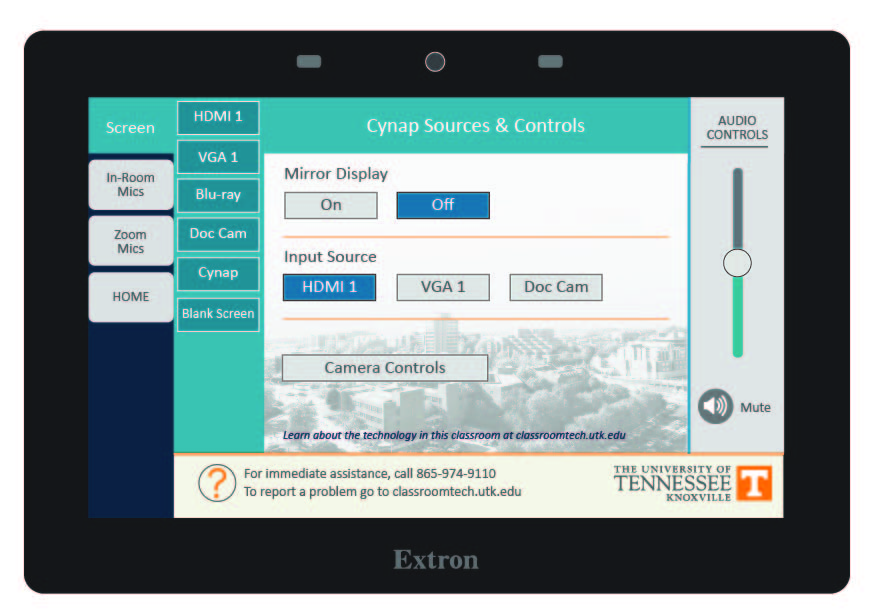 |
| 2. Go to the instructor podium to view the Cynap screen. |   |
| 3. On the Cynap screen, tap the screen and select the [ + ] button. |  |
| 4. Then, select Cynap Input to add the device previously selected on the Control panel. This icon may be labeled slightly differently, such as Input or HDMI (even if you are connected another way such as USB-C). |   |
| 5. Your selected device will appear on the Cynap screen. If you are not in mirror mode, where the instructor screen is mirrored on the main screen, you can send the image over to the main projector screen by tapping the bottom menu of the window on the Cynap and choosing the Send to Projector button. Note: OIT recommends using Mirror mode to make things simpler. If you use Mirror mode, make sure you go to your home screen on the control panel and turn the system off, then turn the system back on at the beginning of class. This will reset your PIN code for Cynap so that previous users will not have the PIN code. |   |
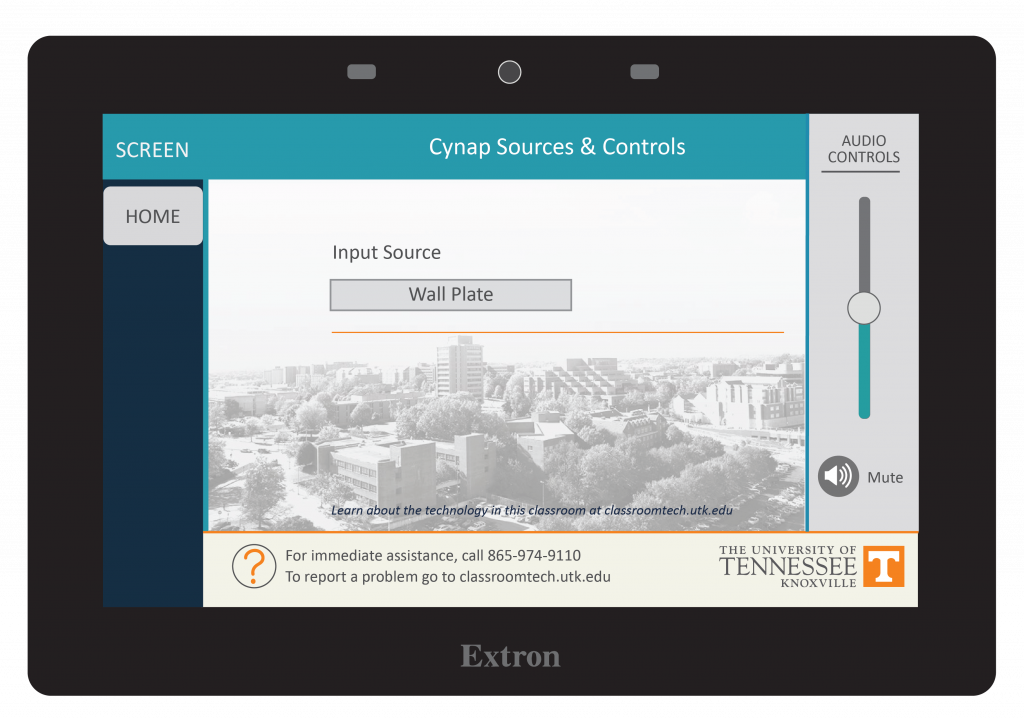
Please note that the wall panel in this room may be slightly different from the one depicted in the image.
The Cynap in this room is a base model and can only have laptops connected by the wall panel plate connect to the Cynap. Ignore the instructions for using Zoom or Panopto. This room would not be able to use Zoom or Panopto.
The flagship campus of the University of Tennessee System and partner in the Tennessee Transfer Pathway.