Max Capacity: 90
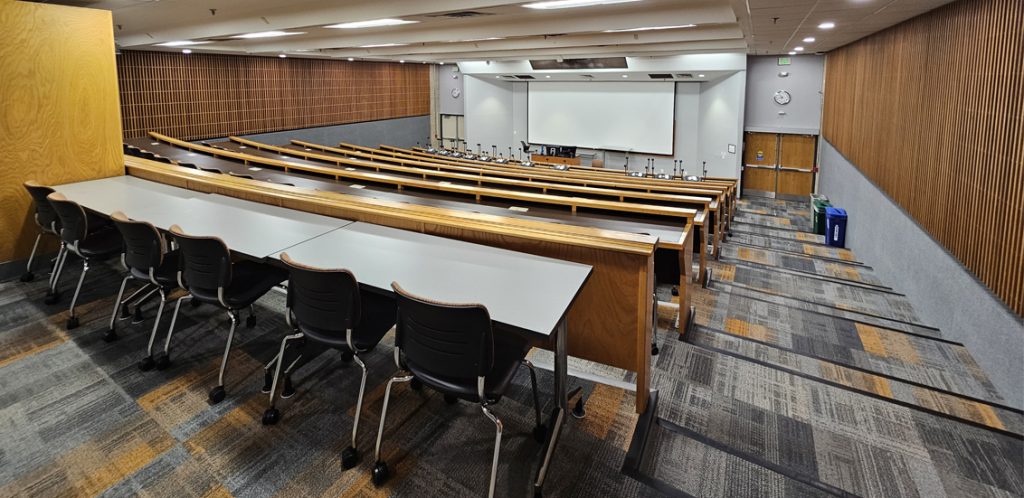
Stokely Management Center G4
Your Room Contains
Classroom Resources:Instructor Resources:
- Control Panel: None
- 1 Document Camera(s) with Manual Button Controls
- Blu-ray
- Cables:
- 1 HDMI cable(s)
- 1 VGA Cable(s)
- Podium Monitor(s)
- Confidence Monitor(s)
- 1 Ceiling Projector(s)
- 1 Lapel Microphone(s)
- 1 Gooseneck Microphone(s)
How To...
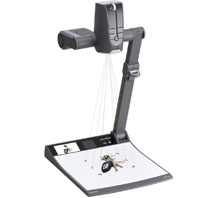
The document camera located in your classroom allows you to easily display documents, objects, and simple demonstrations to an entire classroom and/or lecture hall.
Key Features:
- Zoom wheel, which allows for closer details of the images or objects being projected
- Continuous auto-focus that adjusts as you zoom in and out to keep your image in clear focus
- LCD preview
- A brightly lit working surface
- Loop-pull up for easy setup
- Freeze frame, which freezes the image displayed through the projector system
How to Use the Document Camera:
- Lift up the document camera with the loop-pull and the camera will automatically turn on. If your doc camera does not turn on, tap the button located either at the top of the working surface or to the right of the working surface.
- Place your document or demonstration on the working surface
- Ensure auto-focus is enabled to have a continuous clear presentation
Other Resources:

Watch a video on the basic steps to using the Document Camera.
The Blu-ray player is located inside the instructor podium and the basic controls area available on the control panel.
The Blu-ray player can play Blu-rays, standard DVDs and Music CDs coded for Region 1 - Canada, the United States and U.S. territories.
Getting Started
- Begin by using the control panel to turn the projection system on. If your classroom has multiple projectors, there will be more than one projection option at the top of the control panel.
- To enable the Blu-ray player, select which projector you wish to display the Blu-ray/DVD through and select DVD Player option.
- Load your Blu-ray/DVD into the player.
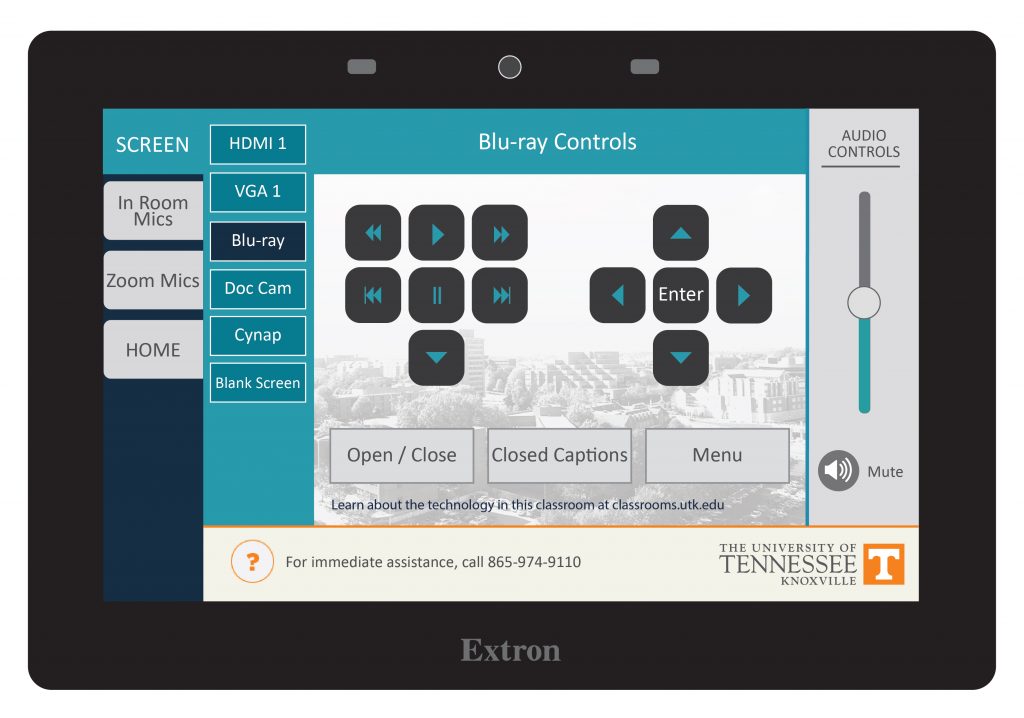
- Use the control panel to access the menu controls and select Enter to play a Blu-ray or DVD.
See this example for how the DVD controls will look on your control panel. Notice you can play, stop, pause, rewind, fast-forward and step ahead. You also have a subtitles on/off option. Use the circular menu for moving through the on-screen menu on your DVD.
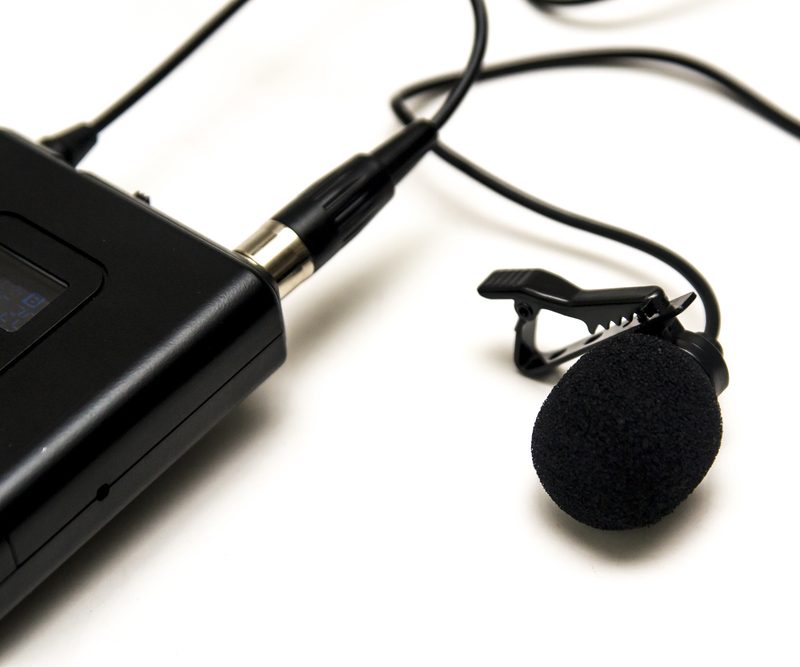
Lapel-style microphones are called Lavalier mics. Lavalier microphones are clipped to your shirt about 3-6 inches below your chin and come with a battery pack you can clip to a belt or slide in a pocket.
Tip: Adjust sound levels by going to the tab for in-room mics or microphones on the control panel. You can adjust the sound level for when you use Zoom or Panopto by going to the tab for Zoom/Panopto mic.
Each mic has been programmed to work with the audio system in your classroom. These mics will not work in other rooms because they have not been set to work with another room system and may also be incompatible with some of the equipment in that room. Please contact OIT if you need additional mics in your classroom.
Tip: when you switch the battery pack on, if the light is green, the battery charge is good. If the light is red, the battery is getting low.
To change the battery on this microphone, look for the small tab either on the side or bottom of the battery pack. Mics will take either D or AA batteries. These batteries should be available in the cable drawer of your podium. If you do not have batteries and need some immediately, contact the emergency line of the OIT HelpDesk at 865-974-9110. If you wish to just report that the room needs batteries for next time, please contact the main number of the OIT HelpDesk at 865-974-9900.
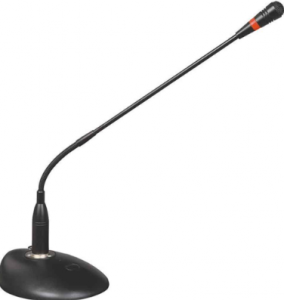
Available in some classrooms on the podium, these bendable microphones allow a speaker to stand at the podium to be heard. Speakers who are soft-spoken may need to lean in towards the microphone in order to be heard better.
If a lavalier (lapel-style) microphone is available in the room, OIT recommends using that microphone if the speaker wishes to move away from the podium and around the room.
Wheelchair access for this room is available by taking the elevator from the Stokely Managment Center building and going down to the G level. Turn left out of the elevator and go down the hall to the double doors. Turn right to go towards G4. This will grant access to the floor with the instructor podium.