Cynap allows you to connect up to four devices or inputs at one time. You can connect a device using a wired connection, such as HDMI or VGA, or you can connect wirelessly the same way you would connect your device to a smart TV.
Display Cynap to the Projector
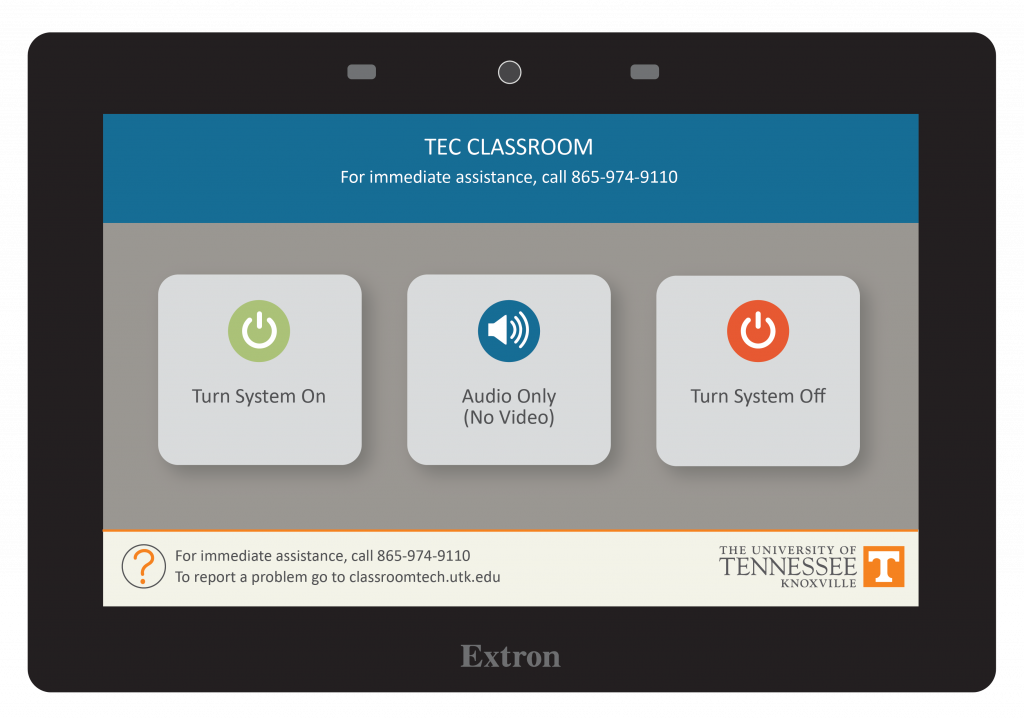
Step 1: On the Control Panel, Choose Turn System On
Your classroom control panel may look different from the one shown here. Choose the option you wish for turning on the projector or screen in the room.
Step 2: Select What You Want to Project
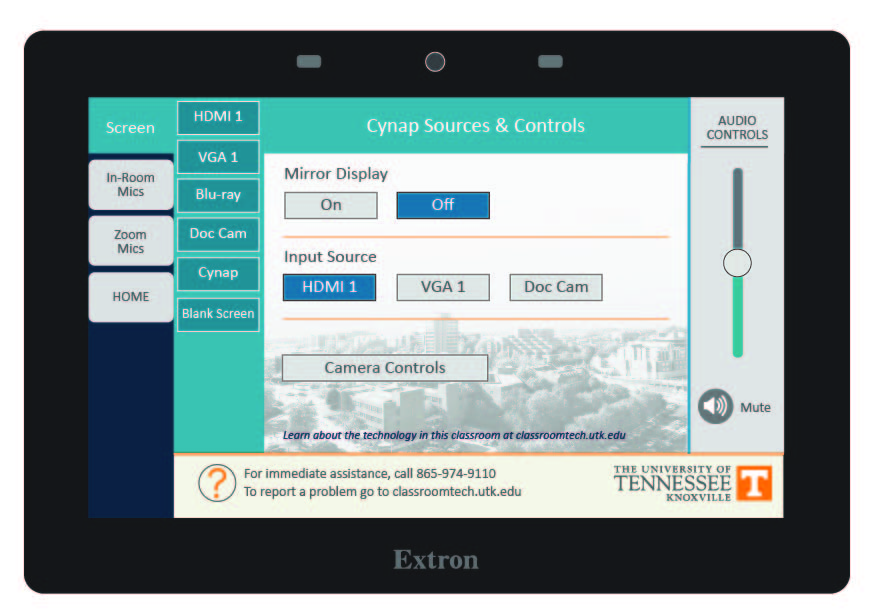
Select the screen you want to project to from the list on the left.
Step 3: Select Cynap
Even if Cynap is currently highlighted, it is always a good idea to re-select what you want to project. This will also ensure you have the Cynap controls visible on the control panel.
Selecting What to Display Through Cynap
To Connect Your Laptop to Cynap
You can either connecting using HDMI or VGA and select that as an input source or connect wirelessly.
To connect via HDMI or VGA
- On the Control Panel under Cynap, choose how you are connected – either HDMI or VGA
- On the Cynap, tap the screen to bring up the + button
- Choose Input Source and your laptop will appear
- No PIN code is needed if connecting using the wired cable.
To connect wirelessly on Windows:
- Use the Windows Key and the P Key to access the Project Menu.
- Choose Connect to a wireless display.
- Select the Cynap for your room.
- Enter the 4-digit code that appears at the top of the Cynap screen on your device. Your laptop will appear on the Cynap screen.
To connect wirelessly on Macbook:
- Select the Airplay icon in your menu bar for available devices.
- Select the Cynap for your room.
- Enter the 4-digit code that appears at the top of the Cynap screen on your device. Your laptop will appear on the Cynap screen.
To Connect the Document Camera to Cynap
- On the Control Panel under Cynap, choose Doc Cam as your Input Source
- On the Cynap, tap the screen to bring up the + button
- Choose Input Source and your Document Camera will appear