Getting Started with the Epson Interactive Projector


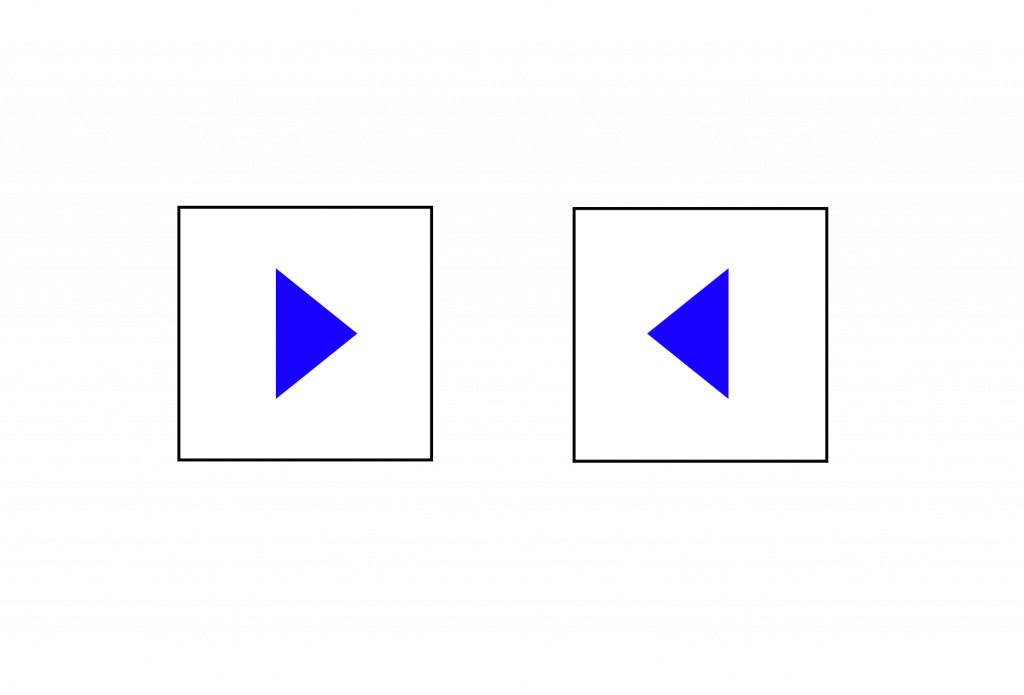
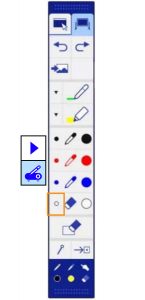
Step 1: After you have your presentation showing on the screen, tap the left or right side of the board and tap either arrow.
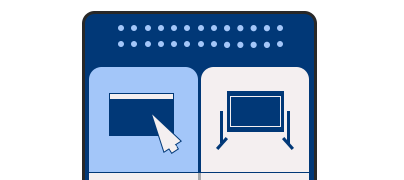
Step 2: Make sure the icon showing the projector and pen is highlighted in blue.
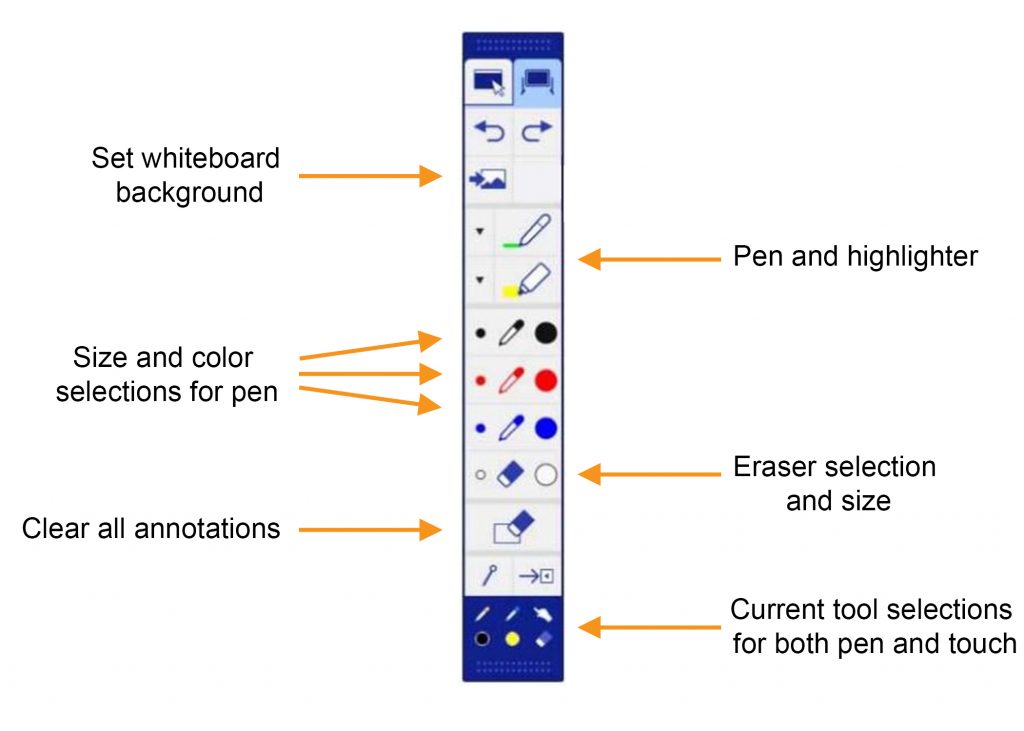
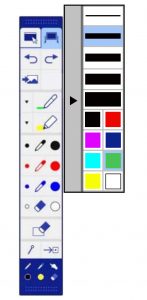
Step 3: The Annotation Tools menu will open.
You can select different pen colors, pen stroke widths, highlighters, and erasers.
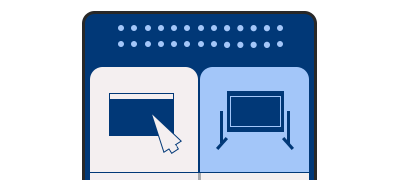
Step 4: There are two modes, Interactive Mode and Whiteboard Mode.
You can switch between the two at the top of the Annotation Tools menu.
Interactive Mode will allow you to annotate whatever you chose to be projected to the screen, such as your laptop or document camera.
Whiteboard Mode gives you a blank white screen to annotate on. You may also choose to set the Whiteboard Background to a different color.
If using the Whiteboard Mode on the Epson Interactive Projector, switch back to Interactive Mode before turning the board off.
You can use the Epson markers or your finger to write on the board.
For those with accessibility needs or mobility limitations, the Epson Interactive board also responds to other items, such as tennis balls which can be used for drawing.

NOTE: You cannot save annotations on the Epson Interactive Projectors.
Annotation Tools
Highlighter
Step 1: To use the highlighter, tap the highlight button.
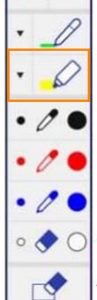
Step 2: You can select the highlighter width and color.
Pen
Step 1: Choose the pen button.

Step 2: You can select pen width and color.
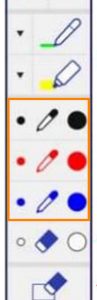
There are also pre-set color and size pens in black, red, and blue.
On either side of the pen icon, choose the smaller circle for a smaller pen size in that color and the larger circle for a larger pen size in that color.
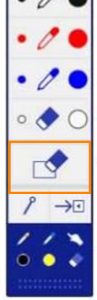
Eraser
To erase, choose the small or large circle to the left and right of the Eraser icon.
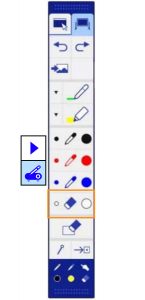
The small circle is a smaller stroke eraser.
The large circle is a larger stroke eraser.

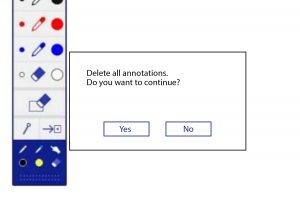
Clear All Annotations
Step 1: Select the Clear All Annotations button.
Step 2: Select Yes if you wish to delete all annotations.
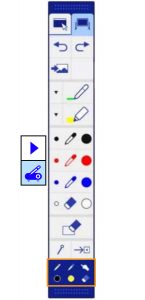
Current Selections for Epson Markers and Using Fingers for Marking
At the bottom of the Annotation Menu, the current color selections for both Epson markers and finger are shown.
Troubleshooting
Epson Board is Not Responding to Markers/Touch
If the Epson Interactive Board is not responsive to touch, try cleaning the black bar at the bottom of the screen and make sure nothing is blocking or covering it.
White Screen Showing
If you turn on the Epson Interactive Projector and your screen is white and not showing what you want to project, try tapping on the left or right side of the board and switching back to Interactive Mode.