Most classrooms have a control panel. Some smaller conference-style classrooms may only have HDMI or VGA connectors that will connect you directly into a screen. Usually, the control panel is a touchscreen on the instructor podium next to the large monitor. In some rooms, the Control Panel may be a physical panel mounted to the wall. As classrooms are updated each summer, they will be moved over to a version of the new control panel style.

Control Panel Categories
Though Control Panel styles vary through the classrooms, they all work on the same principle. See the options below for general instructions on how to use control panels. For specific instructions on the control panel in your classroom, use the Find Your Classroom search to locate your building and room number.
New Control Panels
- Watch this video tutorial on how to use Control Panel Style 1
- Watch this video tutorial on how to use Control Panel Styles 2, 3, & 4
In many classrooms, control panels have been updated with a new style that will eventually replace all of the styles below.
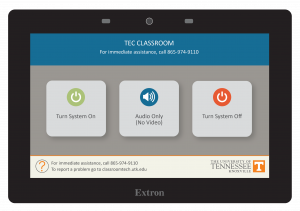
To turn on your system, you’ll press the Turn System On button. When finished, you’ll return Home and press Turn System Off.
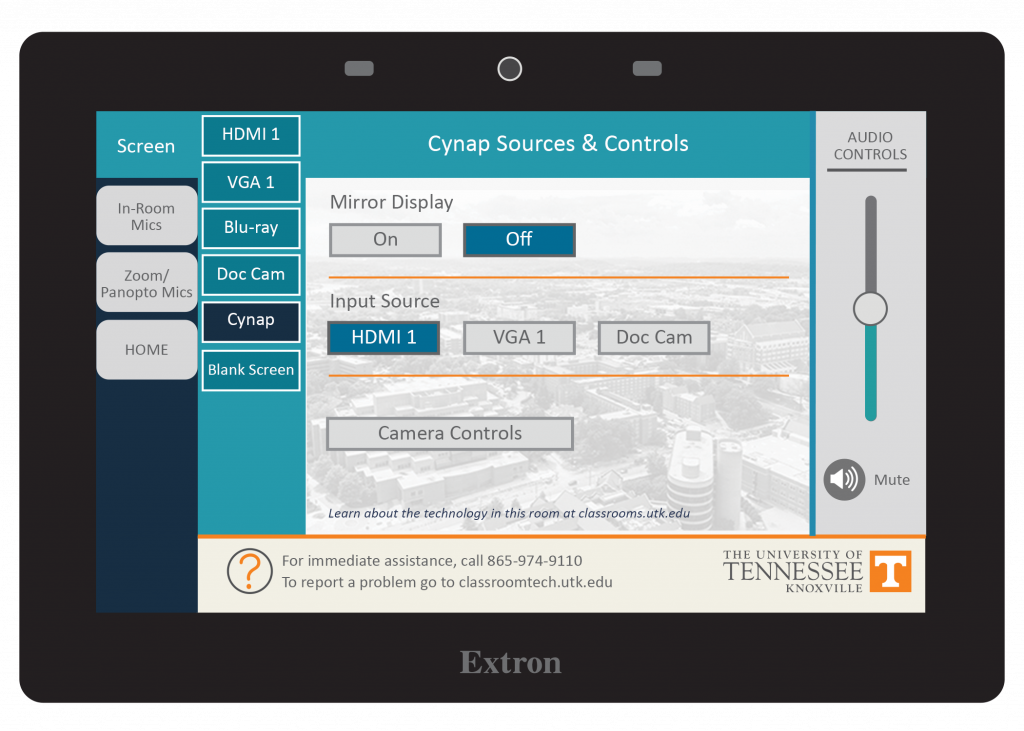
To choose what you show on the screen, select the Screen option, and then choose the option you want to show. In a classroom with one screen, you’ll have only the a single Screen option to choose from. In classrooms with multiple screens, you’ll have the option to show different images on each screen or can choose to have the same image on each screen by tapping each Screen individually. If that classroom has other devices, such as presentation recording systems, classroom supplied computers, etc., those tabs will appear as options under either the menu under the screens or as options to show on the screen.
To adjust audio levels, you’ll have the options for in-room audio or Zoom/Panopto audio. Remember in larger classrooms, if you have different images on each screen, you will need to choose an option for which audio source you want to be heard over the room speakers.
Older-Style Control Panels
Medium Classrooms
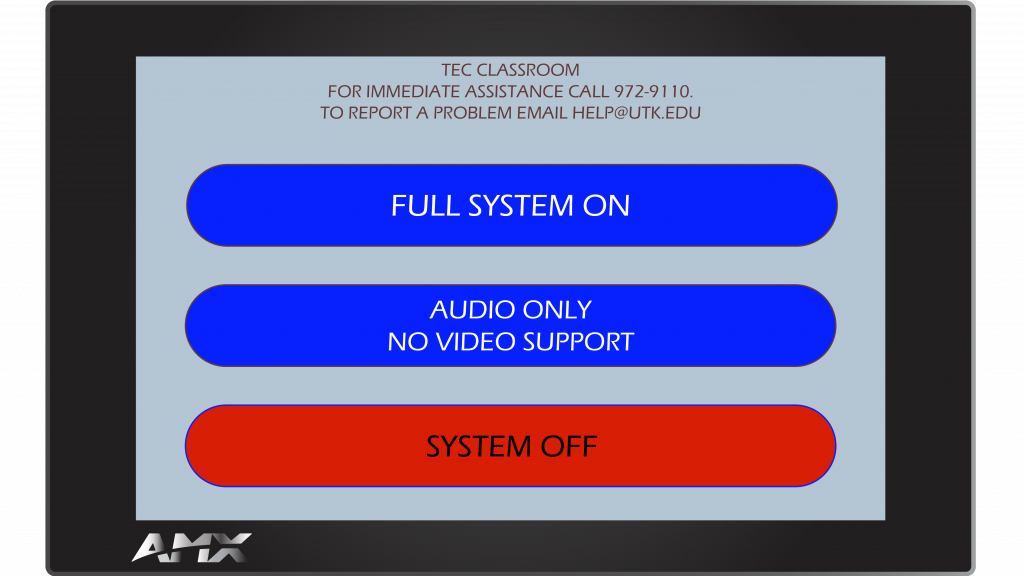
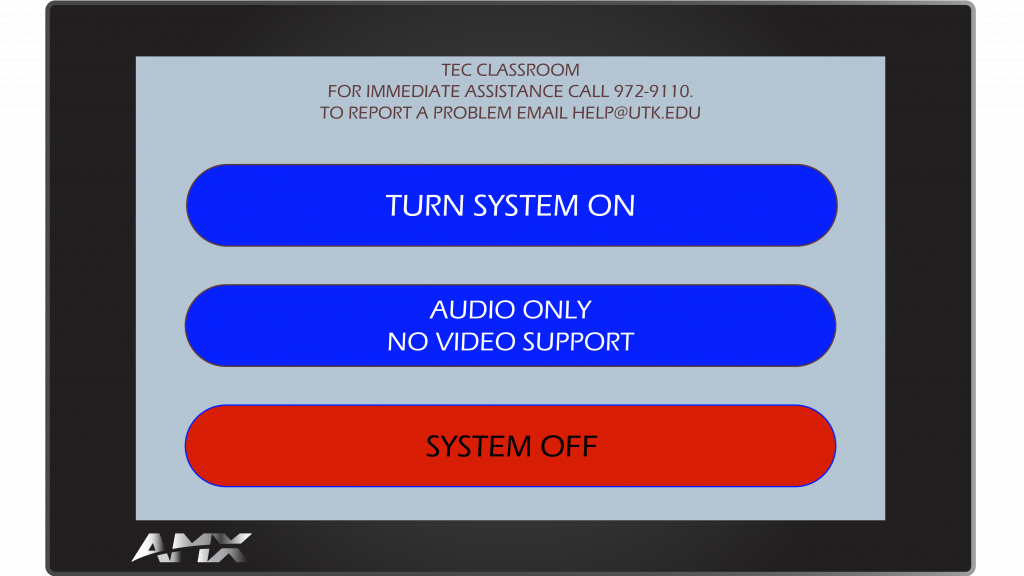
Medium classrooms can fit approximately 20-40 students, have one to two projectors, and control panels with only one display option.
- General instructions on how to use a control panel for a medium-sized classroom.
- Watch this video tutorial on setting up the medium-sized control panel and connecting to Cynap.
Large Classrooms and Lecture Halls
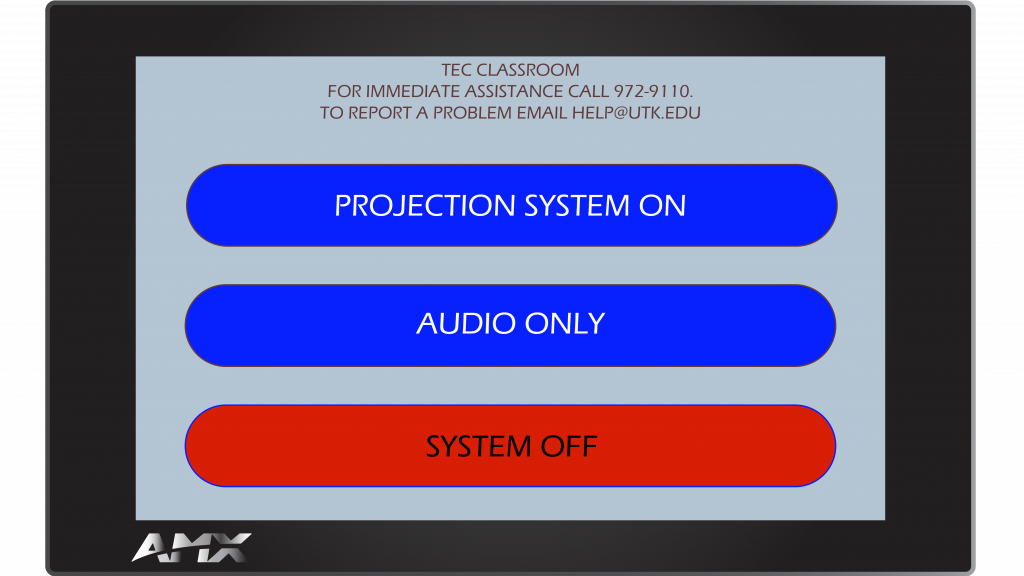
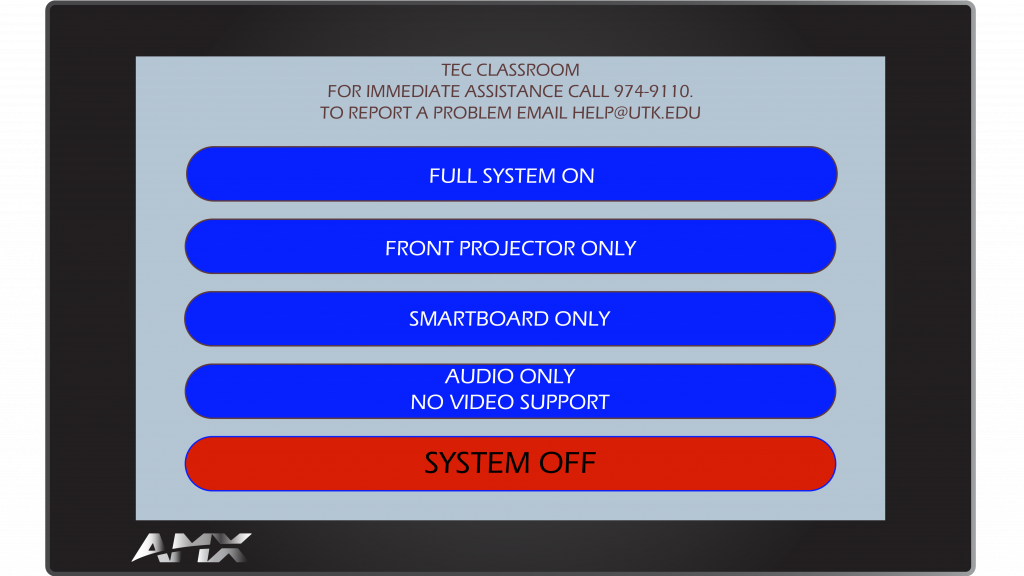
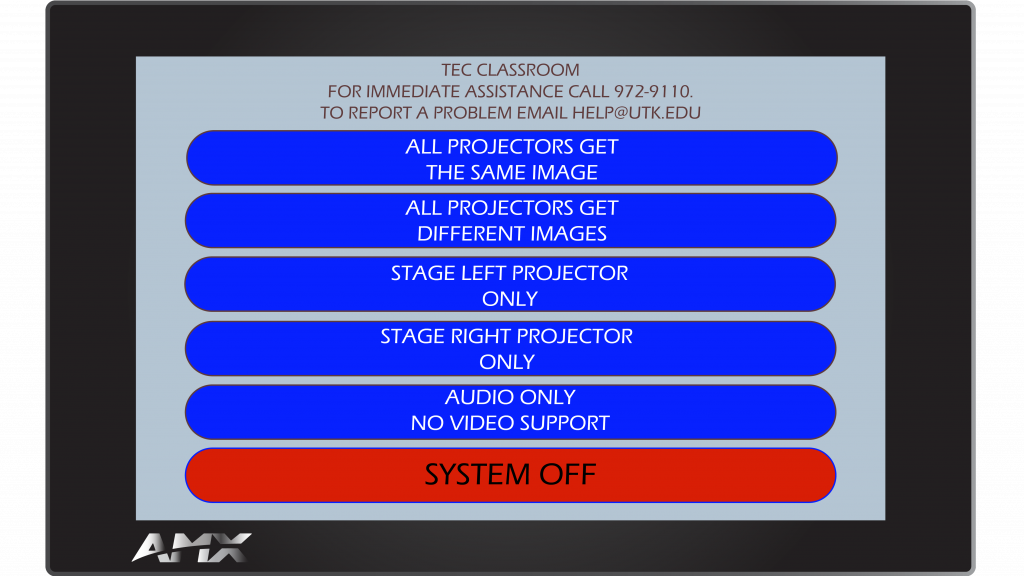
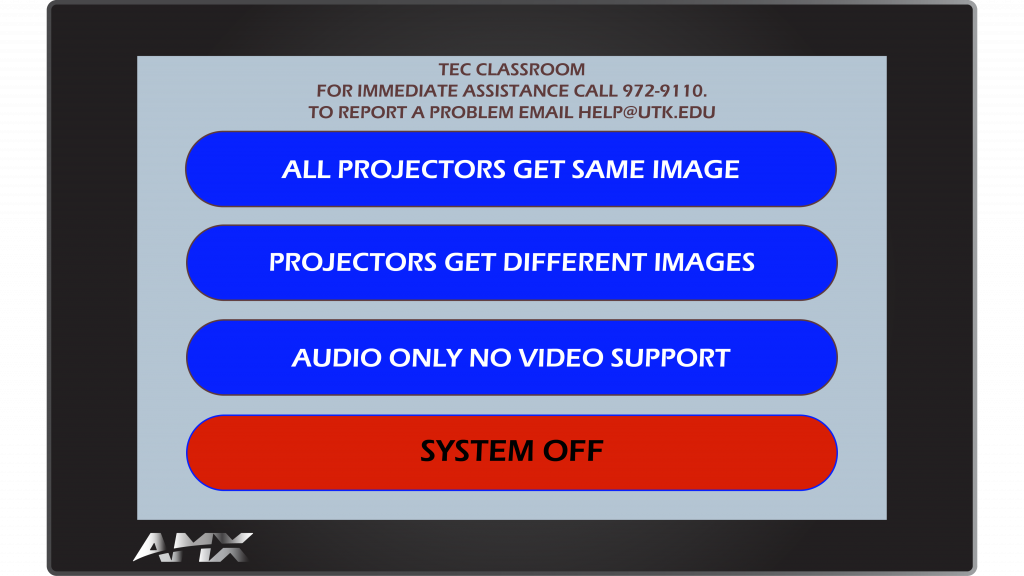
These rooms can fit 50 or more students and have control panels with multiple options for displaying projectors. You can choose to have the same image on all projectors or different images displayed on different combinations of projectors.
- Go here for general instructions on how to use a control panel for a large-sized classroom or lecture hall.
Physical Control Panels
Physical Control Panels are located in some rooms on campus. These panels are mounted to the wall and will have buttons to press for turning the display on/off, choosing HDMI, VGA, or Cynap – depending on the room. Use the round turn button to increase or decrease audio volume in the room.
Note that some of these wall panels are also being replaced with simplified versions of the new style control panel. See your classroom’s page by going to the Find Your Classroom section above and looking for the building and room number.
Other Resources
Basic Setup
- Watch a 4:24 video on the basic set up – on older style control panels
- Download a transcript of the video
Troubleshooting
- Watch a 3:28 video on troubleshooting common issues – older style control panels are shown, but troubleshooting tips apply to newer panels as well.
- Download a transcript of the video