These instructions will help you to hold a Teams meeting or record your lecture using Teams and Cynap in your classroom.
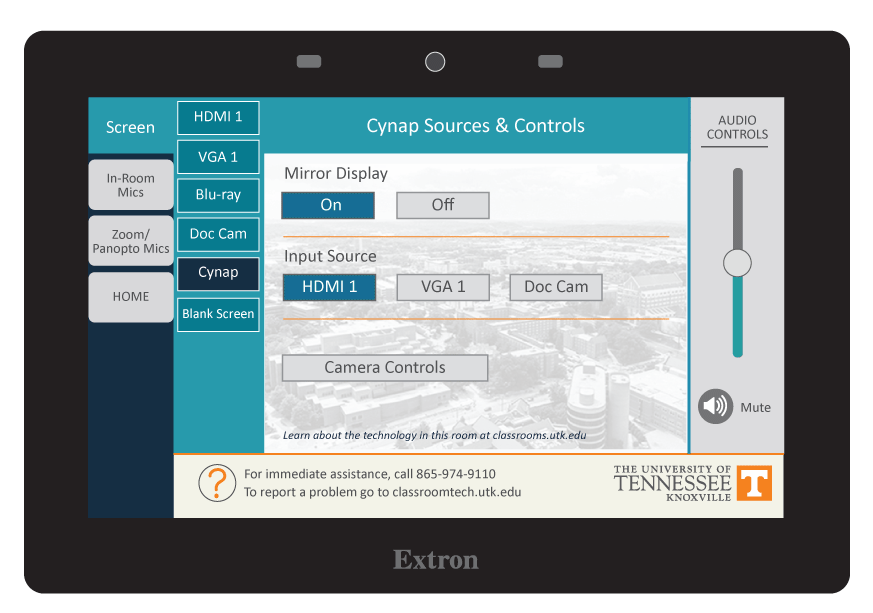
Step 1: On the Control Panel, display Cynap on the Projector.
Learn how to display Cynap on the projector. (This link will open in a new tab)
Step 2A: Prepare to share the document camera or your device (example: laptop connected by HDMI or VGA).
On the Control Panel, ensure your Mirror Display is set to ON.
On the Control Panel, under the Cynap Input menu, choose what you want to display (HDMI, doc cam).
Note: you can share your laptop either wired or wirelessly on Cynap.
Step 2B: Share the document camera or your device (example laptop connected by HDMI or VGA)
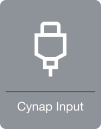
Tap the Cynap screen and select [+] button
Tap Cynap Input to bring up the device you previously selected on the Cynap Input menu (laptop plugged in with HDMI or doc cam).

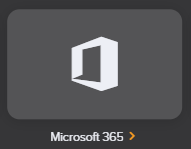
Step 3: Choose Microsoft 365
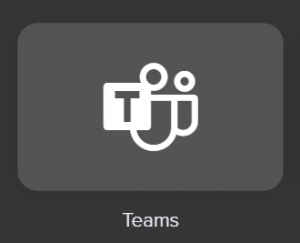
Step 4: Choose the Microsoft Teams icon
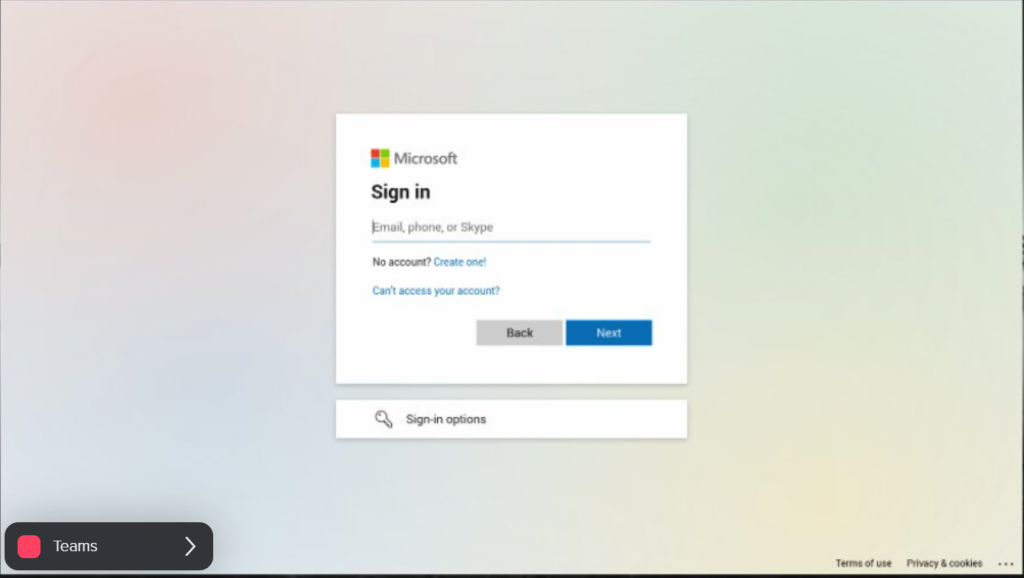
Step 5: Sign into your Microsoft 365 account using your UT email and password.
Note, you will need to authenticate using Two-Factor authentication.
Step 6: Start your meeting.
You can go to the Calendar tab and find a scheduled meeting, decide to start a meeting now and invite people to it, or start a call with individual people. Adjust your meeting settings.
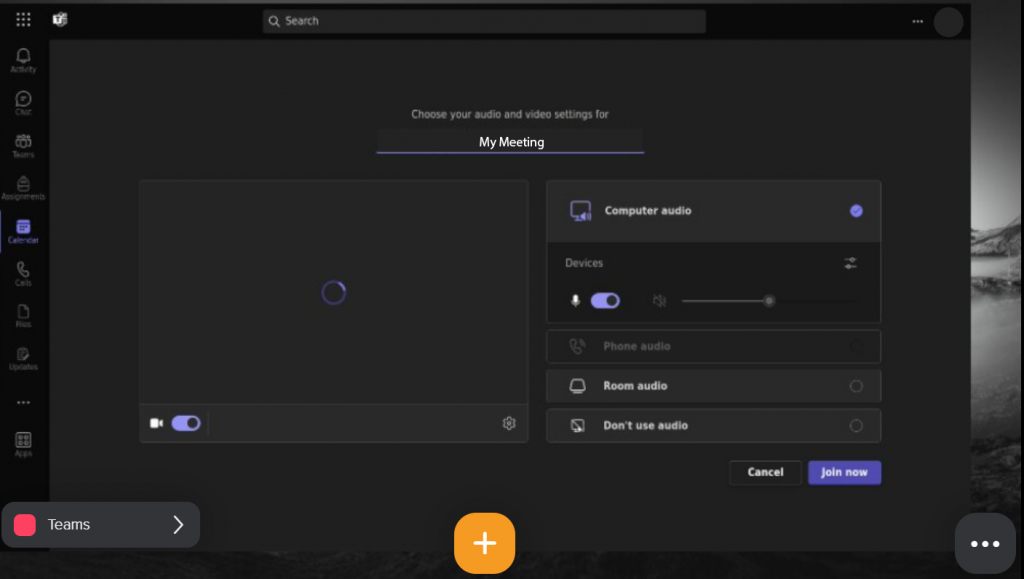
Step 7: Select Join Now.
Remember to use the lapel mic in order to be heard on your recording or in your meeting.

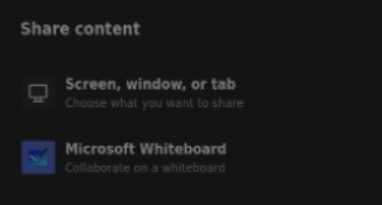
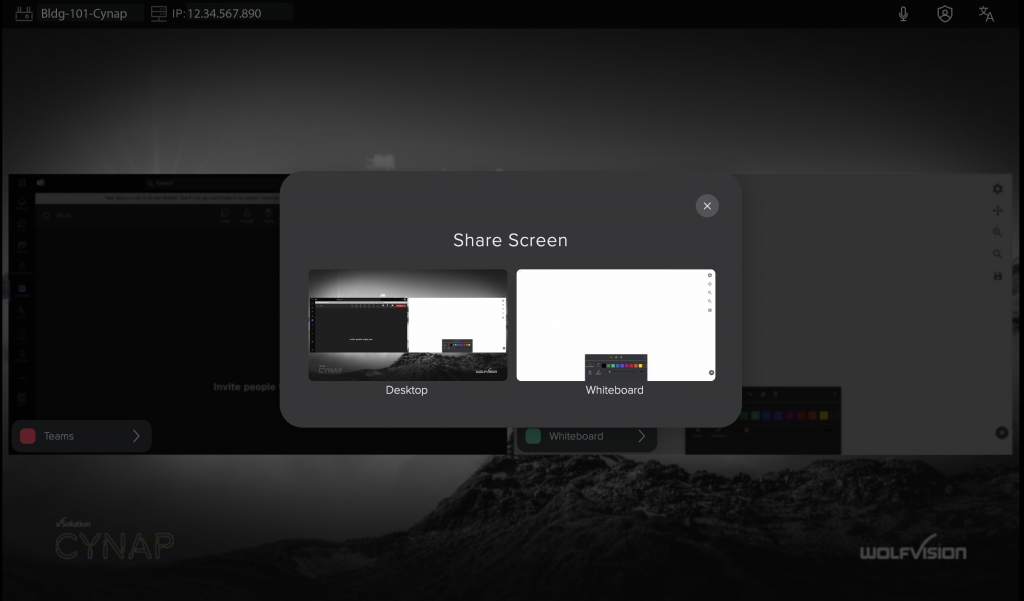
Step 8: Select which open window you wish to share.
Note, this would be your laptop connected with HDMI or VGA or document camera chosen as Cynap Input or a wirelessly connected laptop, phone, or tablet.

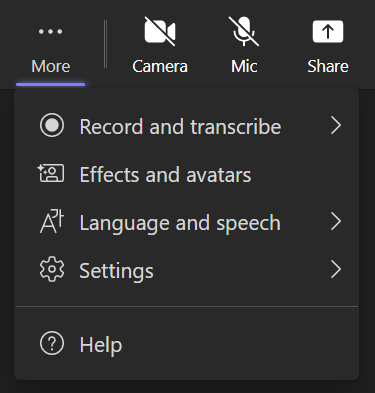
Step 9: Under the More button, find Record and transcribe.
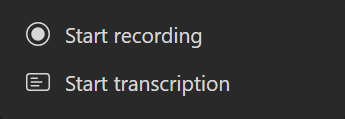
Tap Start Recording.
You can go back to the More menu to select Stop recording, but recording will also stop when you end the meeting.
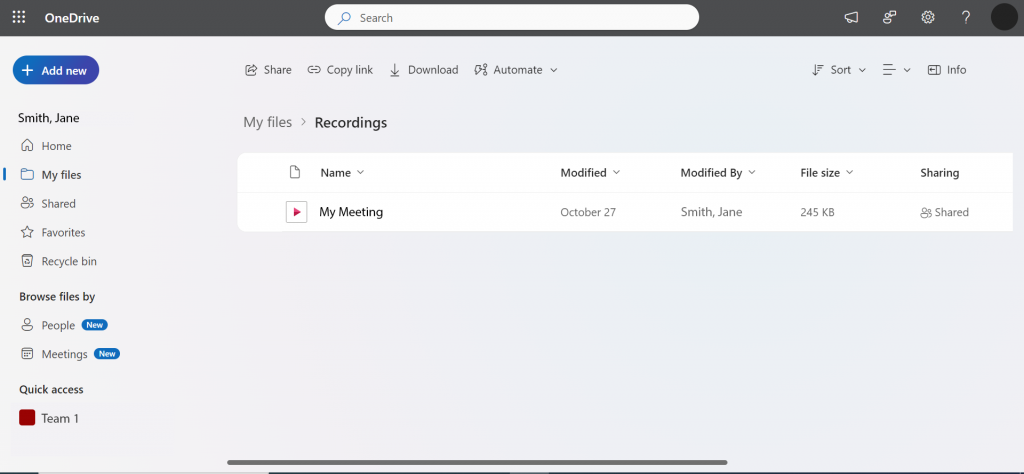
Step 10: Your recording will be saved automatically to your OneDrive in a folder named Recordings (which can be accessed from any device that you can log into your OneDrive with).
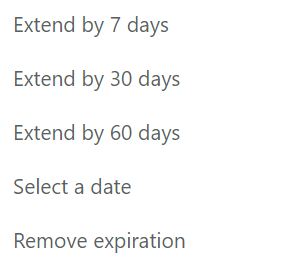
Make sure to save your meeting recording before it expires; you can save it to your OneDrive or change the expiration date to a later date or never.