These instructions will help you to hold a Zoom meeting or record your lecture using Zoom and Cynap in your classroom.
A note about Cynap Pro: if you are on a Cynap Pro, you MAY need to maximize the windows that you are sharing via the recording in order to view that on the projector screen. Recently, Wolfvision made a change and you might be able to simply have your control panel set to have Mirror OFF and then it should automatically expand the window you are sharing so your students can see it on the projector screen.
Step 1: On the Control Panel, display Cynap on the Projector.
Learn how to display Cynap on the projector. (This link will open in a new tab)
Step 2 – Sharing a device plugged in with a wire or connected wirelessly.
Step 2A: Share the document camera or your device connected with a wired cable (example: laptop connected by HDMI, USB-C, VGA).
On the Control Panel, ensure your Mirror Display is set to ON.
On the Control Panel, under the Cynap Input menu, choose what you want to display (HDMI, doc cam, etc.).
Tap the Cynap screen and select [+] button
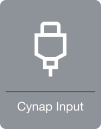
On the Cynap, tap Cynap Input (in some rooms this icon is labeled HDMI – even if you are plugged in with another device or using a different cable). This will bring up the device you previously selected on the Cynap Input menu from the control panel (laptop plugged in with HDMI, USB-C, doc cam, etc.).
Step 2B: Sharing a device connected wirelessly
On the Control Panel, ensure your Mirror Display is set to ON.
Follow these instructions to connect your device wirelessly.
Note: most MacBooks work best when connected wirelessly to Cynap. This will often prevent the green screen issue where the screen turns green when sharing.
(links open in a new tab)
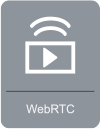
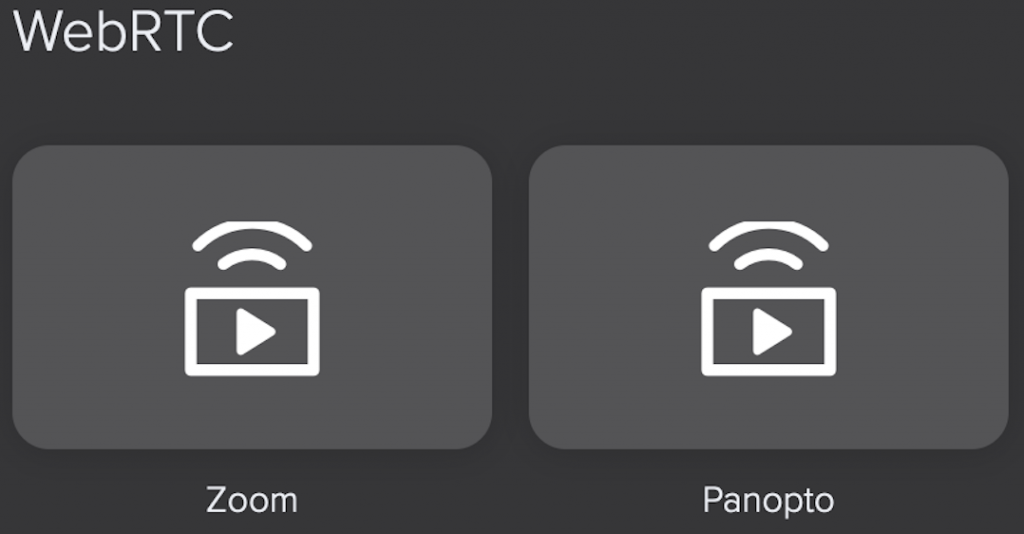
Step 3: Choose WebRTC
Step 4: Choose the Zoom Icon
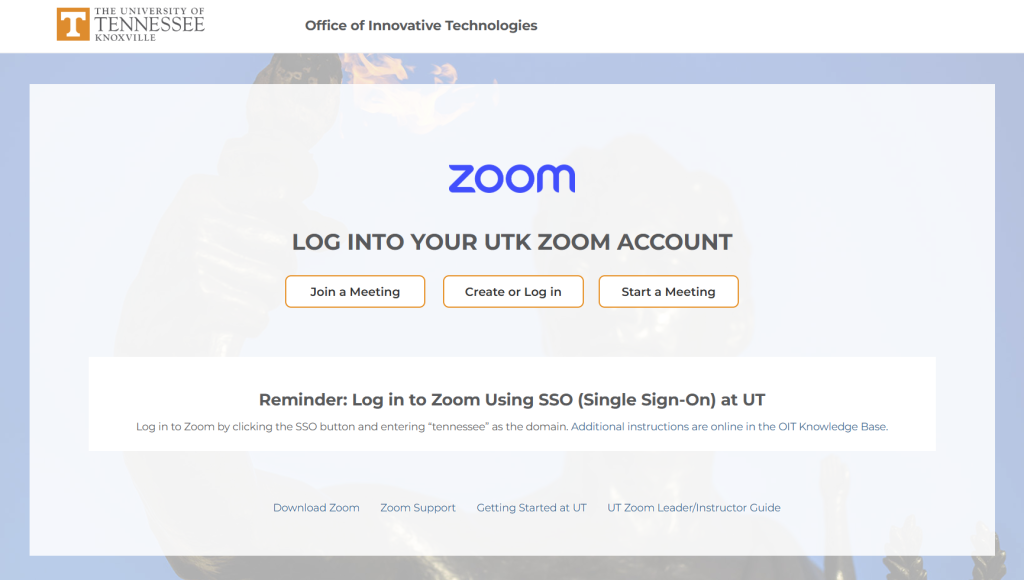
Step 5: On the Zoom page, choose Create or Edit account to login with your NetID and Password
Note, you will need to authenticate using Two-Factor authentication.
Create or Edit Account allows you to start a recurring meeting.
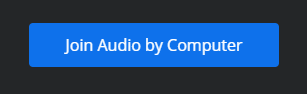
Step 6: Select Join Audio by Your Computer
This may automatically join for you. However, if it does not, press the blue Join Audio by Computer button. Make sure you use the lapel mic. Make sure you unmute from the microphone icon on Zoom. Note you will not see the green indicator for sound until you have either started a recording or have someone in your meeting.
Step 7: Share Screen
Remember to use the lapel mic in order to be heard on your recording or in your meeting.
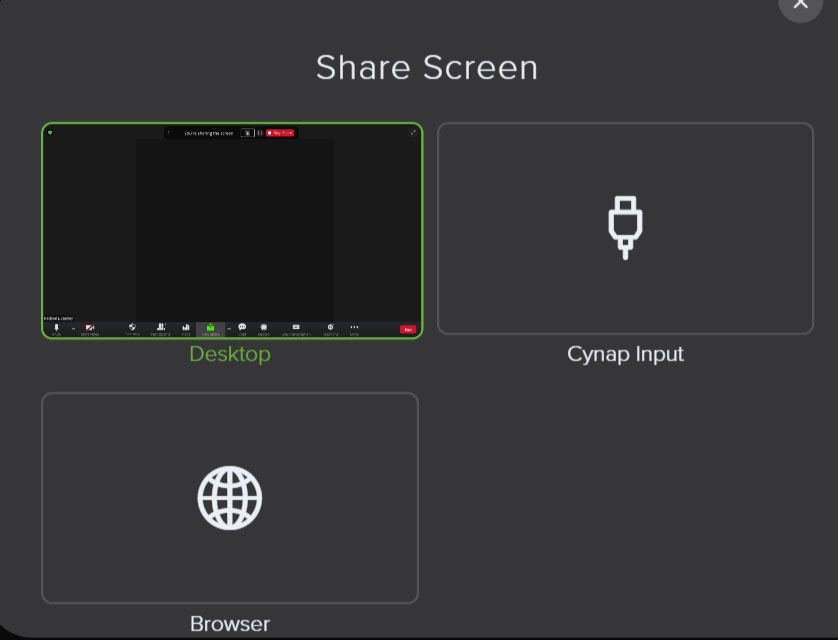
On the WebRTC window, choose the Share Screen icon at the bottom of the Zoom window.

Step 8: Select which open window you wish to share.
Note, this would be your laptop connected with HDMI or VGA or document camera chosen as Cynap Input or a wirelessly connected laptop, phone, or tablet.
Step 9: Record Your Presentation (skip this step if you want to just have a live meeting and not record)
Select the record button on the WebRTC window to record your Zoom presentation. If given the choice, please choose “record to cloud.” Recordings will be copied over to Panopto for you as long as you have made that connection through Panopto.
Note, in some rooms, the room camera turns off when sharing the screen. To turn the camera back on, select Start Video again.
