These instructions will help you to record your lecture using Panopto and Cynap in your classroom.
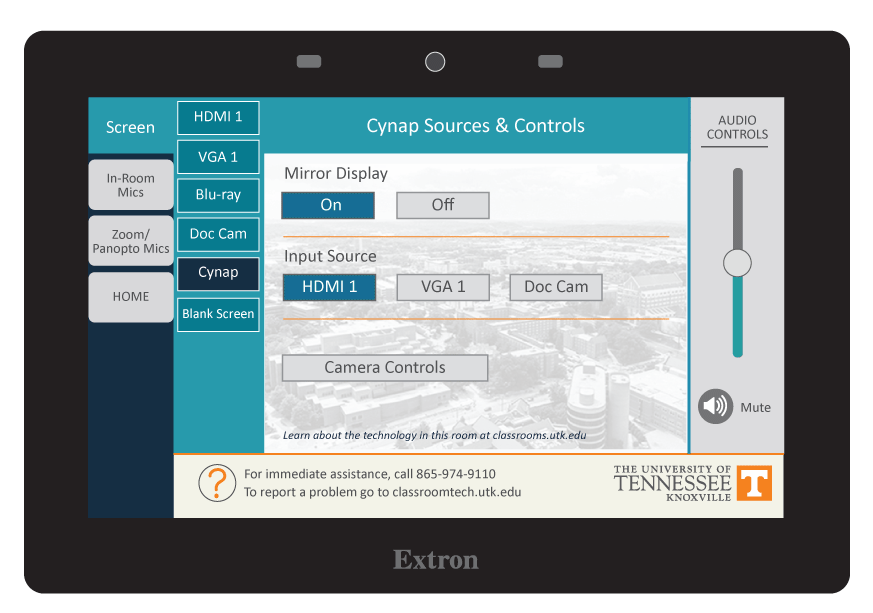
Step 1: Display Cynap to the Projector
Learn how to display Cynap on the projector. (This link will open in a new tab)
Step 2A: Prepare to share the document camera or your device (example: laptop connected by HDMI or VGA).
Ensure your Mirror Display is ON.
Under the Cynap Input menu, select what you want to display.
Step 2B: Share the document camera or your device (example laptop connected by HDMI or VGA).
Tap the Cynap screen and select the [+] button.
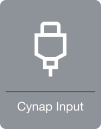
Select the Cynap Input icon to bring up the device you previously selected on the Cynap Input menu
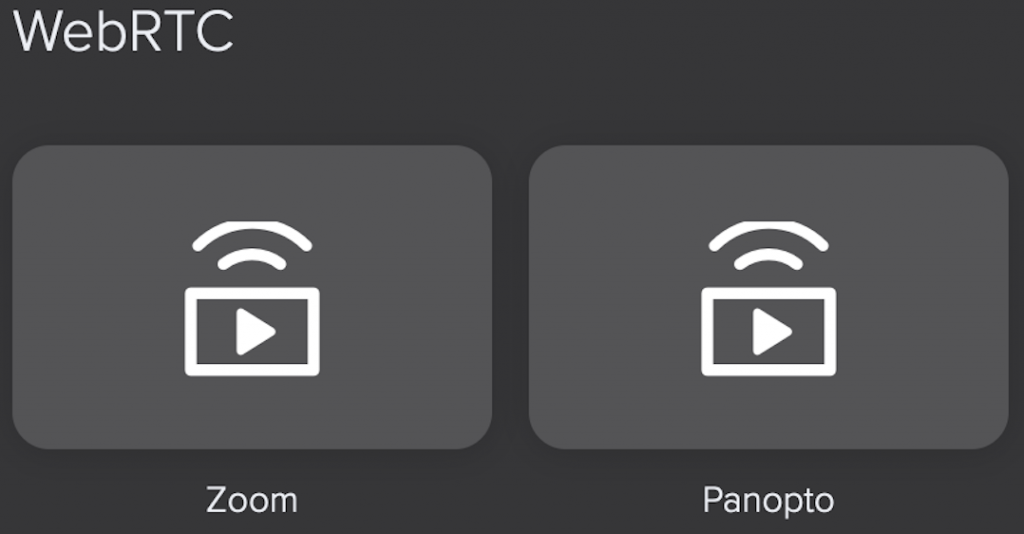
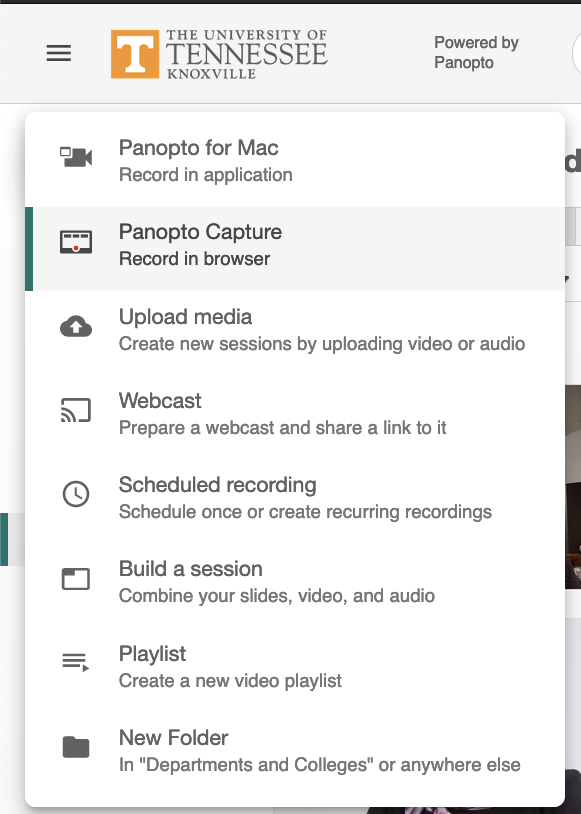
Step 3: Choose WebRTC
Step 4: Choose the Panopto icon
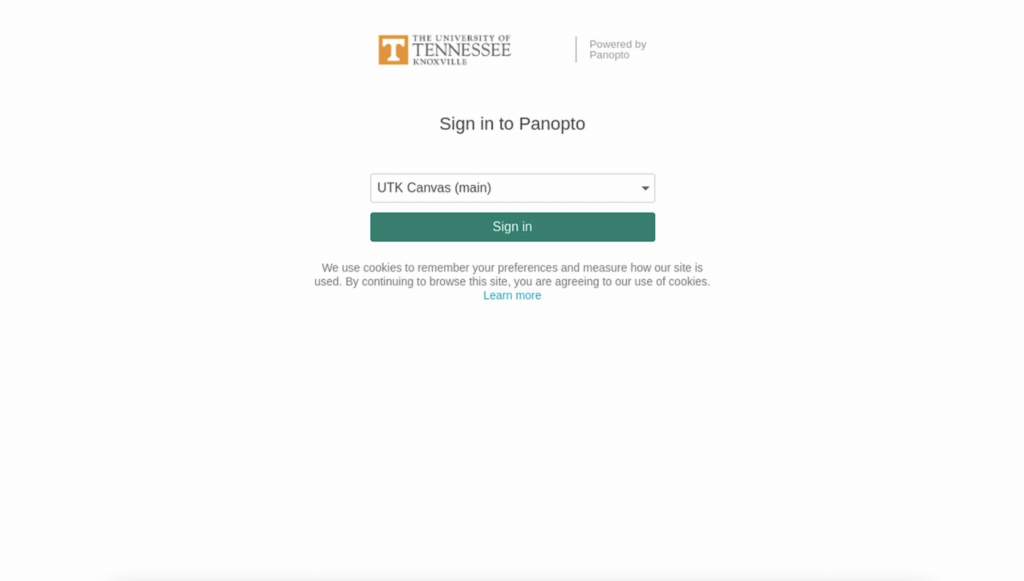
Step 5: Log into UTK Canvas with your NetID and password using Two-Factor Authentication
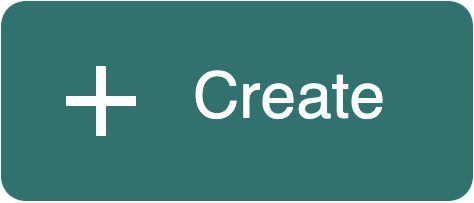
Step 6: Choose the green Create button
Step 7: Choose Panopto Capture: Record in Browser
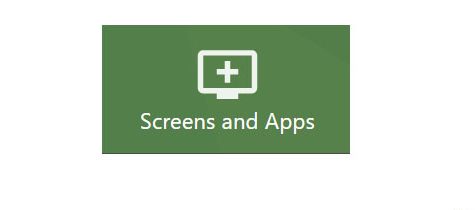
Step 8: Choose your laptop or other device previously added to Cynap by tapping the Screens and Apps button at the top of the Panopto page.
To change to a different source, select the Screens and Apps button again
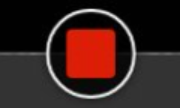
Step 9: To record, tap the red circular Record button.

Step 10: To end the recording, tap the red square Stop button.
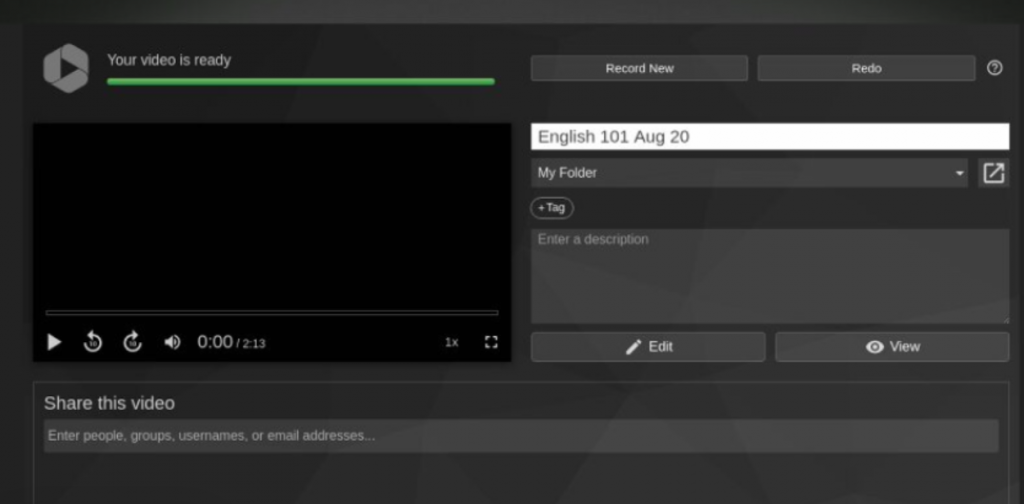
Step 11: Saving Your Recording
Recordings and Settings are automatically saved, however, you have the option to:
- Enter the name you wish to call your recording on the pop-up window.
- Choose the folder where you wish to save the recording.
- WAIT to close out the window until you see the green bar message in the upper left corner that says it is safe to close your browser window.