This is a departmentally-owned room. OIT can offer some assistance with learning the technology in this classroom, but because this is a departmentally-controlled space, we are not able to offer full assistance. Information on this page may not be completely accurate and may be outdated due to department updates.

Claxton 206 – Departmentally Controlled Room
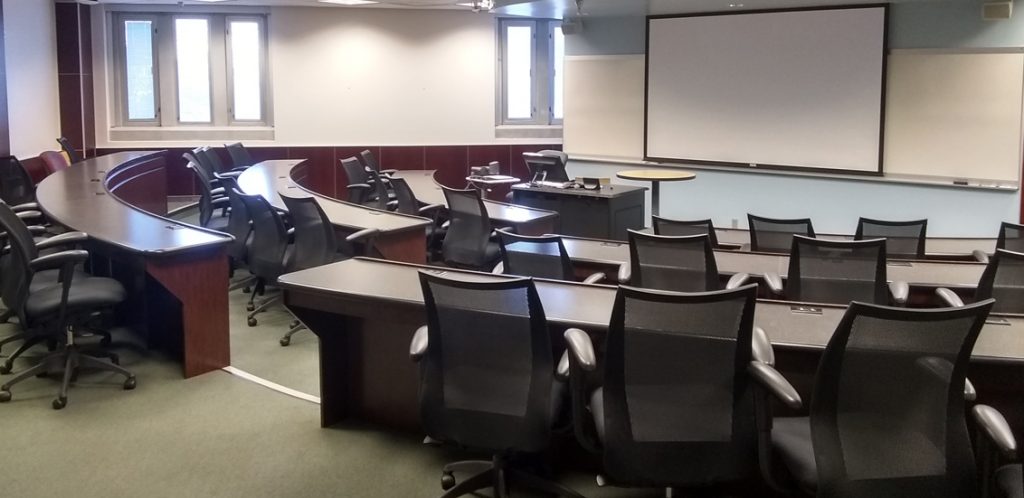
Your Room Contains
Classroom Resources:Instructor Resources:
- Control Panel: Style 1
- 1 Document Camera(s) with Manual Button Controls
- Cynap
- Cables:
- 1 HDMI cable(s)
- 1 VGA Cable(s)
- Podium Monitor(s)
- 1 Ceiling Projector(s)
- 1 Handheld Microphone(s)
How To...

Display on Screen:
- Tap Turn System On
- Tap Screen
- Choose the device you wish to display on the screen such as a laptop connected to HDMI 1 or VGA 1, the Blu-ray player, Doc Cam, or Cynap.
Note: the Blank Screen option will stop the currently selected image from projecting.
When Finished
- Tap Home
- Choose Turn System Off


The document camera located in your classroom allows you to easily display documents, objects, and simple demonstrations to an entire classroom and/or lecture hall.
Key Features:
- Zoom wheel, which allows for closer details of the images or objects being projected
- Continuous auto-focus that adjusts as you zoom in and out to keep your image in clear focus
- LCD preview
- A brightly lit working surface
- Loop-pull up for easy setup
- Freeze frame, which freezes the image displayed through the projector system
How to Use the Document Camera:
- Lift up the document camera with the loop-pull and the camera will automatically turn on. If your doc camera does not turn on, tap the button located either at the top of the working surface or to the right of the working surface.
- Place your document or demonstration on the working surface
- Ensure auto-focus is enabled to have a continuous clear presentation
Other Resources:

Watch a video on the basic steps to using the Document Camera.

These instructions will help you to connect a device to the Cynap.
Go to our Cynap page in the Technology Training section for more advanced features of using Cynap.
Connecting Your Laptop Wirelessly:
- Connect your laptop.
- On Windows:
- Use the Windows Key + K Key to bring up the Project menu.
- Choose Connect to a wireless display.
- Choose the Cynap for your room.
- On MacBook:
- Select the Airplay icon in your menu bar to see available devices.
- Select the Cynap for your room.
- On Windows:
- Enter the 4-digit code that appears at the top of the Cynap screen on your laptop. Your laptop will appear on the Cynap screen.
Connecting a Wired Device:
Use these steps to display a device that is hooked up using an HDMI cable; this includes the document camera or a laptop.
1. On the Control Panel under the Cynap Input menu, select the device you want to display from the Cynap onto the projector. You can select from your document camera, laptop connected with HDMI or VGA, or Blu-ray player. Note: Your control panel may look different than the image on the right. | ![]() |
2. On the Cynap screen, tap the screen and select the [ + ] button. | ![]() |
3. Then, select Cynap Input to add the device previously selected on the Control panel. | ![]() |
4. Your selected device will appear on the Cynap screen. If you are not in mirror mode, where the instructor screen is mirrored on the main screen, you can send the image over to the main projector screen by tapping the bottom menu of the window on the Cynap and choosing the Send to Projector button. Note: OIT recommends using Mirror mode to make things simpler. If you use Mirror mode, make sure you go to your home screen on the control panel and turn the system off, then turn the system back on at the beginning of class. This will reset your PIN code for Cynap so that previous users will not have the PIN code. | ![]() |

Handheld mics can be used by audience members as a to be heard better in the classroom or during a Zoom meeting or Panopto recording. Depending on the set up of your particular room, the mic may only be used either in the room or on Zoom or Panopto. Check your control panel to see what mics are available in Zoom or Panopto by choosing the Zoom/Panopto option. To check what mics are available over your classroom speakers, check the Room Audio button on the control panel.
If your mic needs batteries, unscrew the microphone from the base to add batteries. Mics will take either D or AA batteries. These batteries should be available in the cable drawer of your podium. If you do not have batteries and need some immediately, contact the emergency line of the OIT HelpDesk at 865-974-9110. If you wish to just report that the room needs batteries for next time, please contact the main number of the OIT HelpDesk at 865-974-9900.
This room is a departmentally-controlled classroom. OIT may not be able to completely support this room because it is not a campus-hosted classroom. We have provided information as to what is in the classroom to the best of our knowledge.