What Is It?
WebRTC (Web Real-Time Communication) is an open-source app that allows you to use media communications such as video and voice between the device and a browser. In essence, it’s like using the web app version of the software. On the Cynap, we have Panopto and Zoom set up to use via WebRTC.
How to Use It
If you wish to record your presentation or have an interactive class with a guest speaker online, you may want to use either the Panopto or Zoom apps available on WebRTC. If you wish to use the camera in the classroom for a recording or meeting, you will need to use the Cynap and either Panopto or Zoom via WebRTC.
Step 1: Tap the Cynap Screen
Tap the Cynap screen to bring up the [+] sign menu.
Step 2: Choose the WebRTC App
Step 3: Choose Panopto or Zoom
Choose whether you want to use Panopto or Zoom.
Step 4: Use the Room’s Lapel-Style Microphone
Remember that in order to get audio to work, you will need to use the room’s lapel-style microphone.
How To
These instructions will help you to record your lecture using Panopto and Cynap in your classroom.
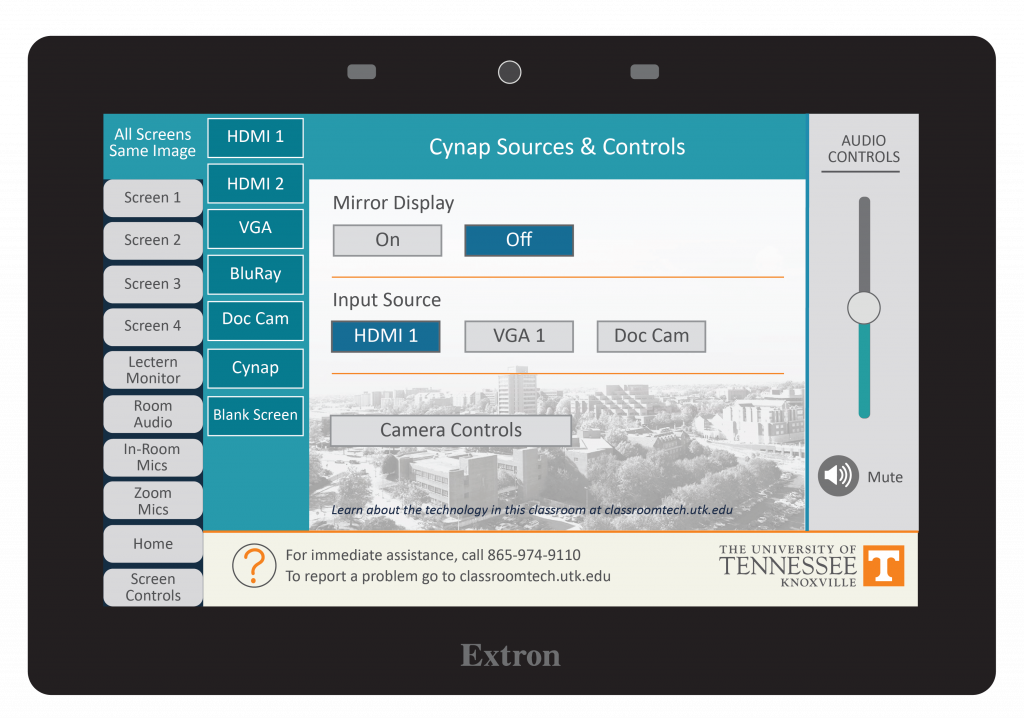
Step 1: Display Cynap to the Projector
Learn how to display Cynap on the projector. (This link will open in a new tab)
Step 2: Share Your Device
Share the device(s) you want to record. (This link will open in a new tab)
Note: you can share your laptop either wired or wirelessly on Cynap.
Step 3: Tap the Cynap screen and select [+] button

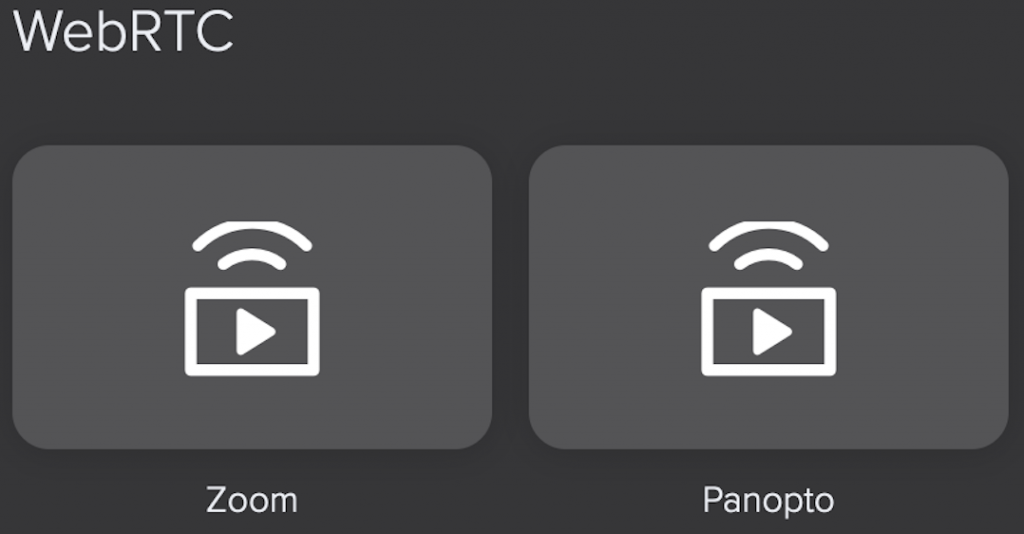
Step 4: Choose WebRTC

Step 5: Choose the Panopto icon
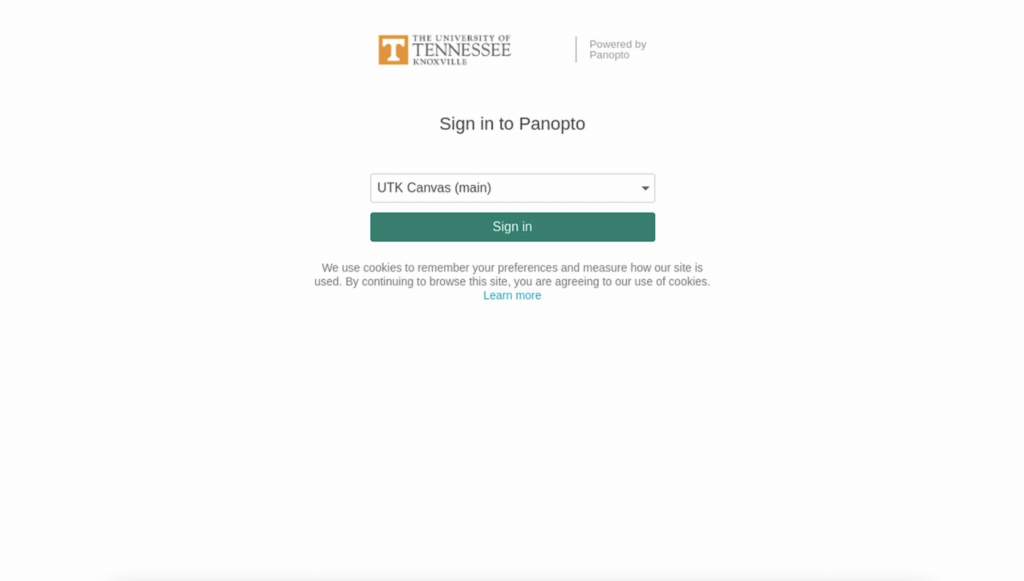
Step 6: Login to Panopto Canvas
Use your NetID and Password
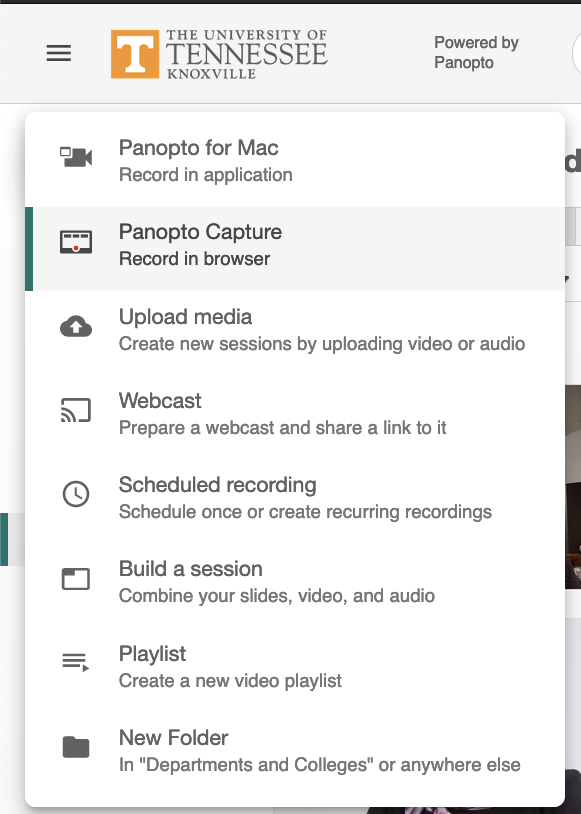
Step 7: Choose the green Create button
Note: Don’t see the green create button when you log onto Panopto on the Cynap? Enable creator access to Panopto in Canvas.

Step 8: Choose Panopto Capture: Record in Browser
Step 9: Choose Sources by tapping the Screens and Apps button at the top of the Panopto page.
Note, to change to a different source, such as document camera or laptop, tap the WebRTC menu at the bottom of the screen.
- Select the screen share icon.
- Change to a different source.
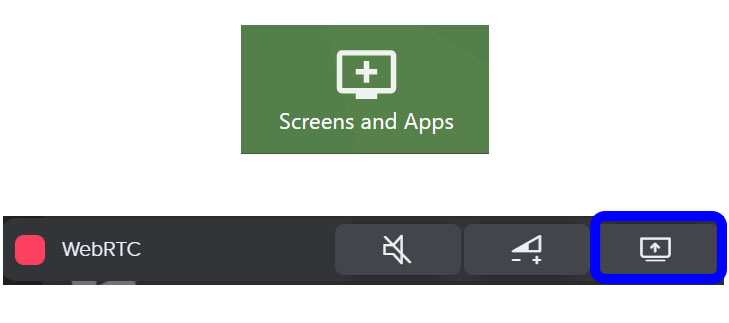
Step 10: To record, tap the red Record button.

Step 11: To end the recording, tap the red Stop button.

Step 12: Saving Your Recording
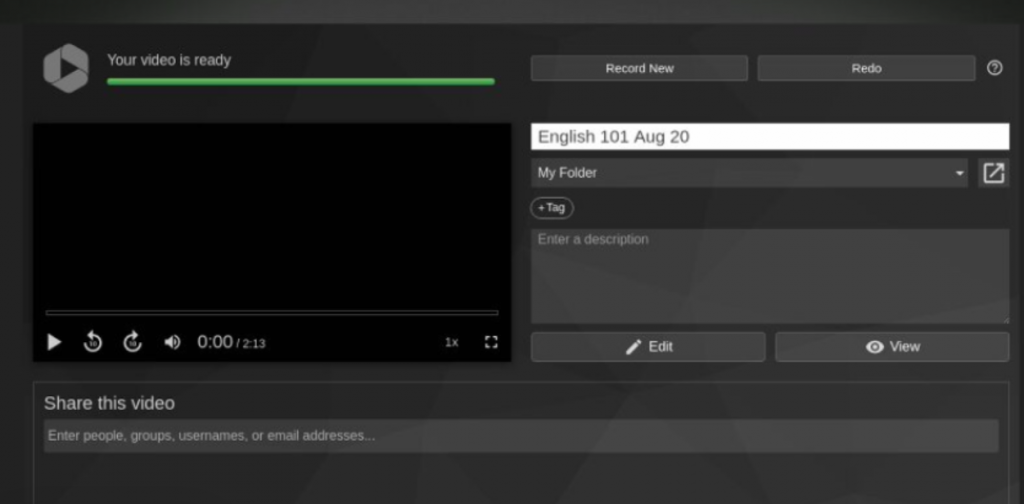
Recordings and Settings are automatically saved, however, you have the option to:
- Enter the name you wish to call your recording on the pop-up window.
- Choose the folder where you wish to save the recording.
- WAIT to close out the window until you see the green bar message in the upper left corner that says it is safe to close your browser window.
Printable PDF Instructions
These instructions will help you to hold a Zoom meeting or record your lecture using Zoom and Cynap in your classroom.
Step 1: Display Cynap on the Projector
Learn how to display Cynap on the projector. (This link will open in a new tab)

Step 2: Share Your Device
Share the device(s) you want to record. (This link will open in a new tab)
Note: you can share your laptop either wired or wirelessly on Cynap.
Step 3: Tap the Cynap screen and select [+] button

Step 4: Choose WebRTC

Step 5: Choose the Zoom Icon

Step 6: On the Zoom page, choose Create or Edit account to login with your NetID and Password
Note, you will need to authenticate using Two-Factor authentication.
Create or Edit Account allows you to start a recurring meeting.
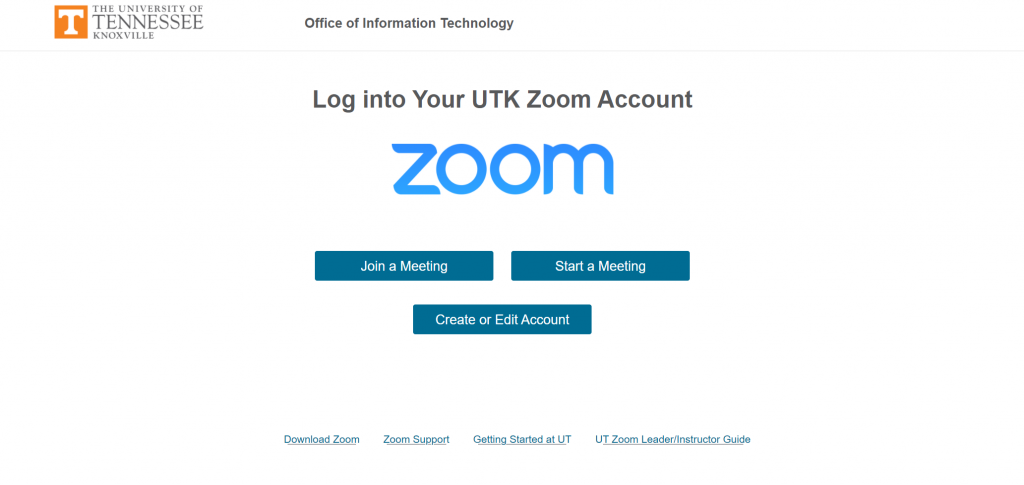
Step 7: Start your meeting
Select the recurring meeting you wish to start and choose start.

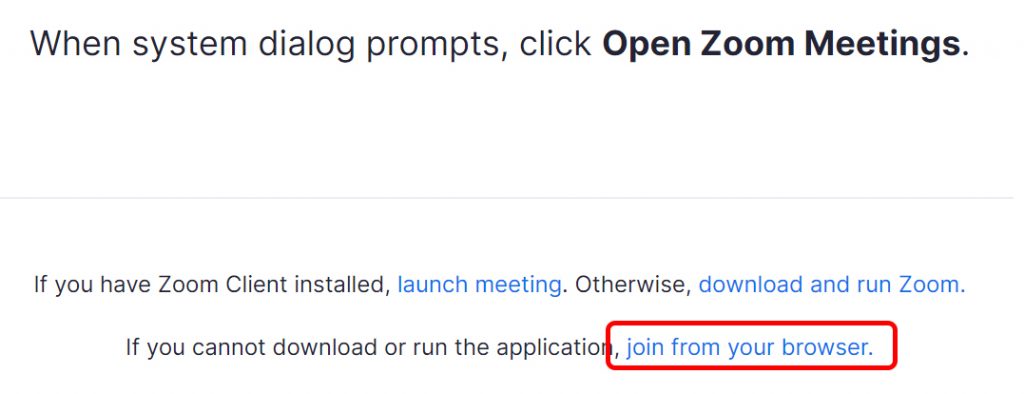
Possible Step 8: Choose Join from your web browser
Some classrooms have a newer firmware on Cynap that skips this step. If you have a newer firmware in your classroom, you will go directly to Step 11. Otherwise, notice, the text is at the bottom of the page below the blue button prompt for launch meeting.
Possible Step 9: Choose Allow or Block
Some classrooms have a newer firmware on Cynap that skips this step. If you have a newer firmware in your classroom, you will go directly to Step 11. Otherwise, choose either Allow or Block for notifications. It does not matter which you choose. Cynap does not cache information.
Possible Step 10: Select Join Audio by Your Computer
Some classrooms have a newer firmware on Cynap that skips this step. If you have a newer firmware in your classroom, you will go directly to Step 11. Otherwise, to be heard on your Zoom recording, choose Join Audio by Computer and use the lapel mic.

Step 11: Share Screen
Remember to use the lapel mic in order to be heard on your recording or in your meeting.
On the WebRTC window, choose the Share Screen icon at the bottom of the Zoom window.

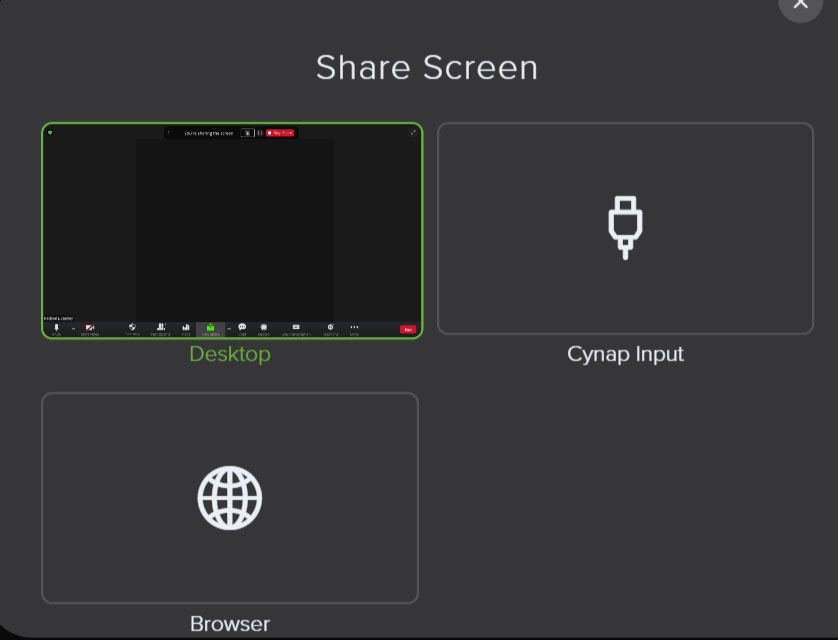
Step 12: Select which open window you wish to share.
Note, this would be your laptop connected with HDMI or VGA or document camera chosen as Cynap Input or a wirelessly connected laptop, phone, or tablet.
Step 13: Record Your Presentation
Select the record button on the WebRTC window to record your Zoom presentation. Presentations are automatically recorded to the cloud and recordings will be copied over to Panopto for you.
Note, in some rooms, the room camera turns off when sharing the screen. To turn the camera back on, select Start Video again.
